


20 Things Every Homeowner Should Know How to Do 20 Photos
You don’t have to call a handyman every time something goes haywire in your house. Get tips for tackling 20 basic home repairs and projects.
Our Most Popular Projects


Kitchen How-Tos


Bathroom How-Tos


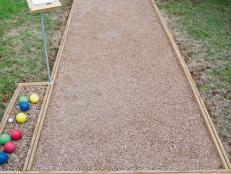
Outdoor How-Tos


Watch: Home Remedies
DIY Home Decor


Fun Craft Projects


Our Latest How-Tos
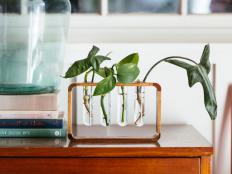
How to Propagate Plants Apr 15, 2024
Propagating plants is easy. Plus, learning how to propagate plants can save you money you'd otherwise spend on buying new plants.

The Pros and Cons of Buying a Fixer-Upper, According to The Brownstone Boys Mar 15, 2024
Jordan Slocum and Barry Bordelon, The Brownstone Boys, started a new chapter together in 2018 when the NYC couple decided to purch …
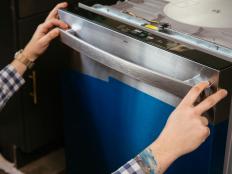
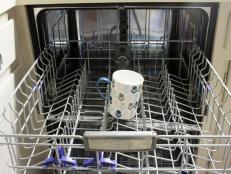
How to Install a Dishwasher Mar 14, 2024
Learn the correct steps to safely install a new dishwasher in an existing space.
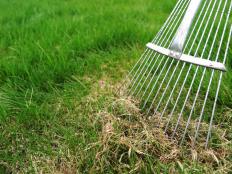
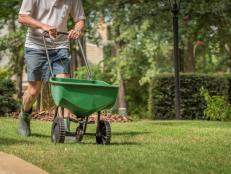
How to Dethatch a Lawn Feb 29, 2024
Learn how to tell if your grass is suffering from too much thatch and get expert advice on how to dethatch your lawn for a healthy …
How to Install a Garbage Disposal Mar 6, 2024
Say goodbye to smelly food scraps and hello to a new garbage disposal.
How to Make a Hypertufa Pot Feb 14, 2024
Get easy steps to create these beautiful and inexpensive containers in any size and shape you like.
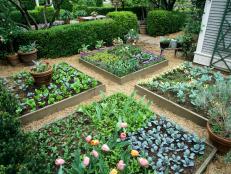
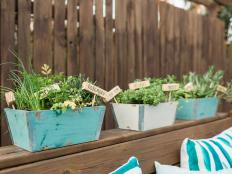
Tips for a Raised-Bed Vegetable Garden Mar 21, 2024
Gardening with raised beds takes very little space and is also a great solution for areas with poor native soil. Start raised-bed …

How to Sharpen a Knife Apr 15, 2024
Learning to sharpen your knives at home will keep them razor-sharp, making them safer and easier to use.

How to Grow and Care for Norfolk Island Pine Nov 17, 2023
Norfolk Island pines are popular houseplants and handsome landscape plants in warm winter areas. For a living Christmas tree, dres …
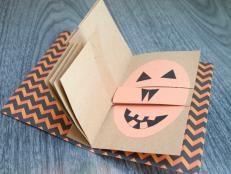
Easy DIY Holiday Cards From HGTV Magazine Oct 24, 2023
Make a note: These DIY cards are sure to impress your friends and family.
Block Print Like a Pro: How to Carve Rubber Stamps for Fabric Printing Oct 17, 2023
If you’ve always wanted to create your own T-shirt design, this tutorial by Maine artist Allison McKeen will have you block printi …

What is Hydroponic Gardening and How to Make a Hydroponic System Apr 10, 2024
Learn what a hydroponic system is and how to create this inexpensive system so you can easily grow flowers and vegetables year-rou …
How to Overseed a Lawn in 4 Steps Aug 24, 2023
Reinvigorate your thinning grass by learning how to overseed your lawn. See the steps below.

How to Wash an Electric Blanket Oct 13, 2023
Have you ever wondered how to wash your heated blanket? It’s easier than you think.

Should You Add Garage Insulation? How to Choose. Aug 17, 2023
From standard fiberglass insulation to high-end spray foam, there are several ways to properly insulate your garage from extreme h …
10 Questions We Have for Mercury Stardust, TikTok's Famous 'Trans Handy Ma'am' Sep 6, 2023
Mercury Stardust is a popular TikTok creator, author, speaker, LGBTQIA+ advocate and burlesque performer who wants renters and hom …

How to Design a Bold Home Bar Inspired by 'Windy City Rehab' Jun 27, 2023
Skip the trip downtown this weekend and build this bold in-home bar inspired by Windy City Rehab instead.

Give Your Entryway Design a Bold Makeover Inspired by 'Windy City Rehab' Jun 27, 2023
Take a cue from Windy City Rehab and give your home's entryway a bold makeover with a painted accent wall.

How to Wash Shoes in the Washing Machine Jun 5, 2023
Machine washing is an easy way to keep your shoes clean all year long.

How to Organize a Closet: Tips for Clearing Closet Clutter Apr 9, 2024
Learn how to organize your closet like a pro with our strategies for storing clothes, photos and art supplies. Plus, find out how …

How to Get Rid of Moles and Voles Mar 17, 2023
Find out the difference between moles and voles and learn how to get rid of moles and voles so these burrowing varmints don't turn …
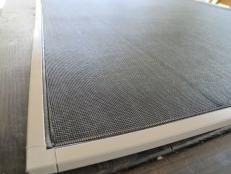
How to Repair a Screen in a Door or Window Frame Jun 23, 2023
Buying new door or window screens can be expensive. Save money by learning how to repair a screen in an existing frame.

How to Start Using Your Cutting Machine Dec 19, 2022
If you’re afraid to take your new cutting machine out of the box, you’re not alone. Even Dennis Setteducati and Andrew Boza — The …

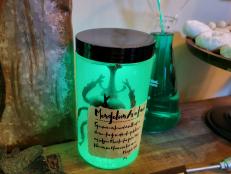
Make These DIY Specimen Jars to Liven Up Your Creepy Halloween Decor Oct 24, 2022
Be your own Frankenstein and create this spine-tingling decor with water, calcium chloride, sodium-alginate powder and food colori …

Make More Than One of These Creepy Clay Eyeball Planters Oct 24, 2022
If these eerie air-dry clay and espresso-dyed eyeball planters don't cast the perfect Halloween spell, we don't know what will.

How to Grow Tulip Tree Oct 21, 2022
Tulip tree — Liriodendron tulipifera (also known as tulip poplar) — is a stunning addition in a large landscape.

5 Ways to Prevent Lead Poisoning While Fixing Up a Home Nov 16, 2022
DIYers, beware: Lead-based paint exists in most houses built before 1978. Luckily, the EPA has foolproof tips to prevent lead pois …

8 Ways to Fix Drafty Windows Oct 12, 2022
Save money and stay warm this winter with these DIY ways to insulate and weather-strip windows as well as doors.

How to Dry Flowers and Preserve Their Beauty Sep 1, 2023
Discover the best ways to preserve your flowers' beauty with our flower preservation guide. Learn how to dry flowers with 5 differ …

How To Use Tea and Cinnamon to Age Artwork for Halloween Oct 21, 2022
Brew some tea, snag this free, printable Halloween art and make your own aged wall art in minutes.


