


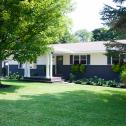


40 Before-and-After Curb Appeal Makeovers 97 Photos
Beautiful Exterior Paint Colors
Ready to change the color of your home's exterior? Get inspiration on great color combos here.

28 Best House Numbers for Every Architectural Style
Crank up your curb appeal with these head-turning house numbers and address signs.
Fix Your Landscaping and Hardscaping
From shrubs and flowers to walkways, learn about the elements of good curb appeal and front yard design.

Landscaping
Find expert landscaping tips, award-winning landscape designs, and thousands of photos of inspiring landscapes.

Hardscaping
Add texture and curb appeal to your outdoor space with hardscape elements like driveways, walkways and retaining walls.
Standout Features That Add Appeal
These details will turn your landscaping design into the best on the block.

Window Boxes
View window box design ideas and learn how to make your own + choose the right plants for a striking display.

Fountains
Fountains are an eye-catching and relaxing element that can be added to any outdoor, indoor or garden space.

Water Features
Find water feature ideas and inspiration to suit any yard and budget.
Get More Curb Appeal Inspiration


28 Best House Numbers for Every Architectural Style Mar 26, 2024
Crank up your curb appeal with these head-turning house numbers and address signs.

20 Cosmetic Upgrades to Sell Your Home in Record Time 20 Photos
Caution: Project results may make your home so beautiful, you won't want to leave.

Our Favorite Wintry Curb Appeal Looks From HGTV Magazine 14 Photos
It's lovely weather for a winter curb appeal tour! Get inspired by these snowy homes — complete with holiday decorations, twinklin …

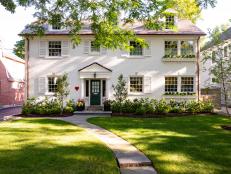
Check out the 2023 HGTV Ultimate House Hunt Winners 46 Photos
You voted, now tour through these sensational winning homes from HGTV's 2023 Ultimate House Hunt.

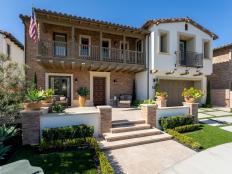
Curb Appeal: The Best of California 18 Photos
These eye-catching houses from HGTV Magazine are loaded with inspiring ideas.

Boldly Sophisticated Home in Dallas 16 Photos
From the curb, this stately house is all about the floor-to-ceiling windows that offer a peak into the electically designed and de …

Upscale Elegance on a Corner Lot in Charlotte 15 Photos
A grand staircase leads to the front door that overlooks this property's sweeping front lawn. Inside, the flowing floor plan and l …
French Country Chateau in Atlanta 10 Photos
The grand entrance to this five-acre French-inspired estate in the Buckhead neighborhood, with ample drive, flagstone path and for …

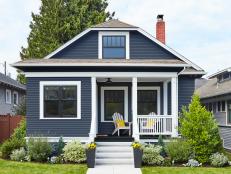
Timeless Tennessee Cottage 10 Photos
With a bright white palette and transitional aesthetic that skirts the line between traditional and modern, this home offers inspi …
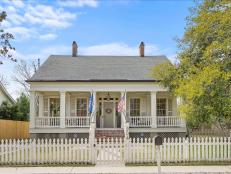
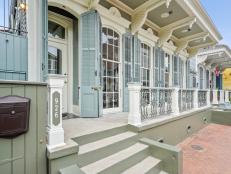
Restored Greek Revival Celebrates Its Louisiana Roots 15 Photos
The deep front porch leads into a classically restored 1850s home that pays homage to original architecture but has every modern a …

42 Cute Doormats You Need for Summer May 15, 2023
Make a statement for the season ahead with these fun and fabulous doormats.
Would You Live in a Standout House? Apr 7, 2023
These homeowners live in the boldest houses on the block. Hear what they say about living in absolutely eye-catching homes.

The Winning Design: Tour Michel Smith Boyd and Anthony Elle’s ‘Rock the Block’ Season 4 House 51 Photos
Luxe for Less hosts Michel and Anthony brought sexy, mountain-modern style to Colorado with a luxurious Rock the Block makeover th …

See Inside Page Turner and Mitch Glew’s ‘Rock the Block’ House 51 Photos
Fix My Flip's Page and Mitch took their million-dollar Rock the Block property to new Rocky Mountain heights with customizations i …
Curb Appeal: The Best of the Pacific Northwest 14 Photos
These eye-catching houses from HGTV Magazine are loaded with inspiring ideas.

Tour the Renovated 'Good Bones: Risky Business' Home 31 Photos
Literally and figuratively, Mina’s historic Indianapolis renovation was huge. At long last, Charlotte Hall is open for guests and …

Curb Appeal: The Best of the Southeast 57 Photos
These eye-catching houses from HGTV Magazine are loaded with inspiring ideas.
Here Are the Four Types of Exterior Window Shutters Aug 19, 2022
Learn about the styles and materials available for exterior window shutters.
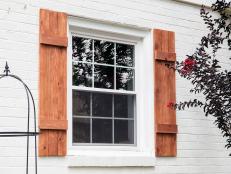
How to Make Exterior Wood Window Shutters Aug 19, 2022
Refresh your home's curb appeal with these easy-to-build board-and-batten-style cedar window shutters.
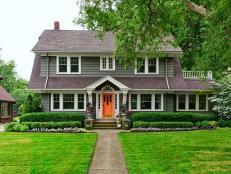
Curb Appeal: The Best of the Northeast 36 Photos
These eye-catching houses from HGTV Magazine are loaded with inspiring ideas.

20 Cool Beach Houses With Curb Appeal 20 Photos
These summery homes from coast to coast are loaded with inspiring ideas. Take the ultimate beach house curb appeal tour with HGTV …

19 Carports That Are Actually Attractive 19 Photos
Carports get a bad reputation, but these porte-cocheres and carports incorporate style with design for Pinterest-perfect curb appe …
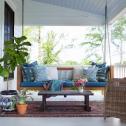
40 Eye-Catching Entryways + Front Porches for Summer 42 Photos
Greet family and friends with a welcoming front porch that's designed for soaking up those long summer days and nights.
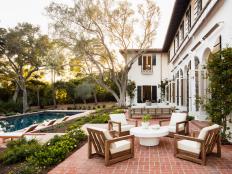
Pristine Montecito Home Embraces Indoor/Outdoor Living 20 Photos
This picturesque estate offers exquisite interiors pared with alluring exterior spaces that effortlessly blend creating the perfec …
Spanish-Style San Clemente Home With Ocean Views 28 Photos
This charming home in San Clemente boasts a Spanish-style exterior that has been perfectly landscaped. Not only does this home hav …

South African Estate With Stunning Mountain Views 20 Photos
This property is set on just under 3 acres and is the perfect spot for entertaining, indoors or out. Inside, an open-plan layout m …

Curb Appeal: The Best of the Southwest 26 Photos
These eye-catching houses from HGTV Magazine are loaded with inspiring ideas.

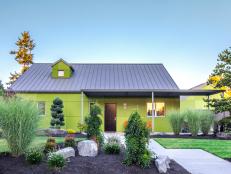
Outdoor Upcycles: 60 Ways to Reimagine, Repurpose + Recycle for a Beautiful Yard on a Budget 60 Photos
(Almost!) free is fantastic when you freshen up your great outdoors with our ideas for landscape, hardscape, gardening, entertaini …
Curb Appeal: The Best of the Midwest 29 Photos
These eye-catching houses from HGTV Magazine are loaded with inspiring ideas.

How to Upcycle a Cutting Board Into an Address Plaque Jun 17, 2022
Is your cutting board a bit too small to make the cut? No problem. In just a few steps, you can upcycle it into a stylish stand-in …


