


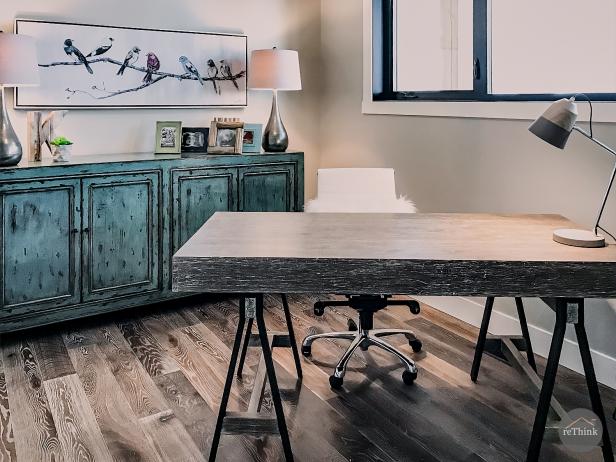
20 Stylish Desks That Will Make You Want to Work From Home
Looking to upgrade your home office? Check out these chic desks that make working from home a more attractive option.
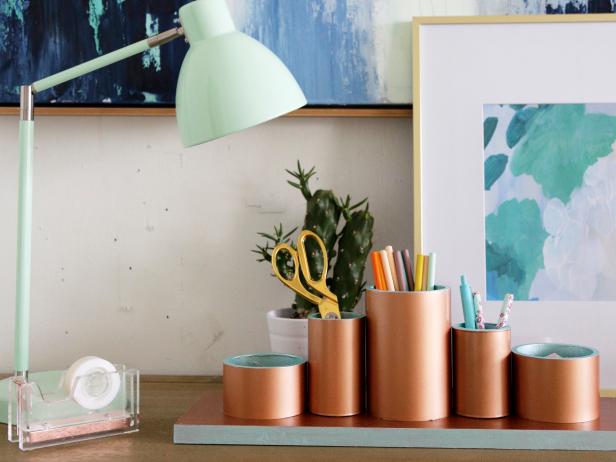
35 Space-Saving Desk Organization Ideas
A cluttered desk can spell major distraction when trying to work from home or at the office. Create a well-ordered workspace that boosts productivity with these budget-friendly and DIY organizing solutions.

DIY a Trendy Corkboard Wall Mural for a Tween Homework Station
Paint fun stripes on the wall then add cork to it to make a mural that is totally cool and functional too.


