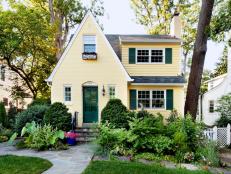
20 Furniture Pieces That Never Go Out of Style 20 Photos
You'll have no regrets in investing in these timeless furnishings that will be just as stylish 30 years from now as they are today.
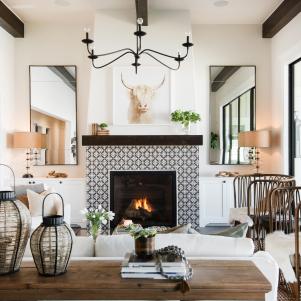
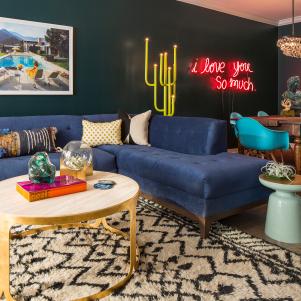
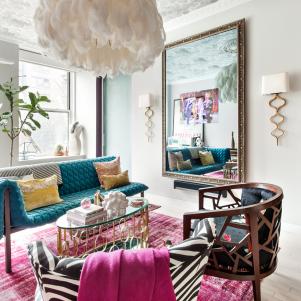
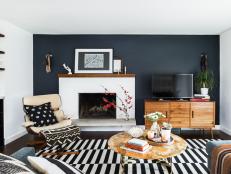
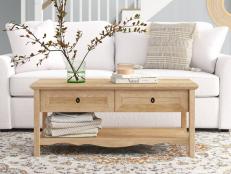
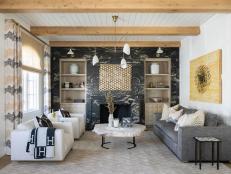
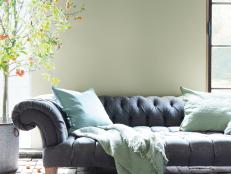
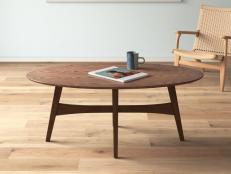
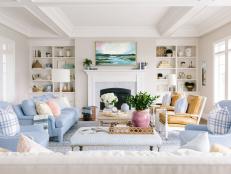
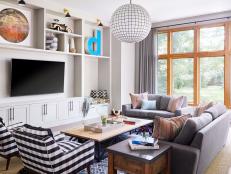
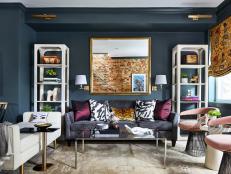
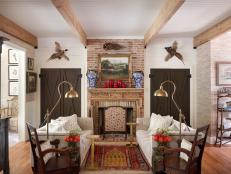
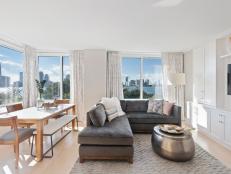
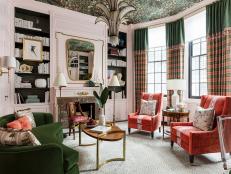
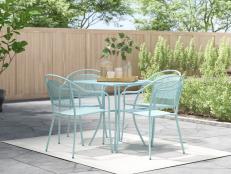
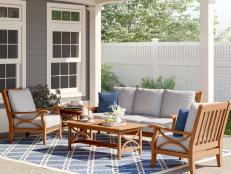
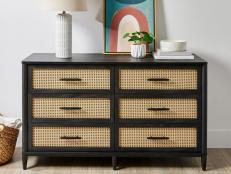
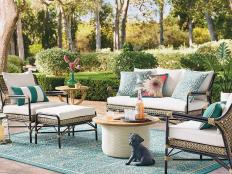
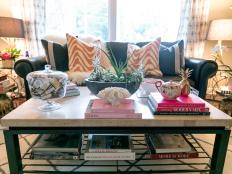
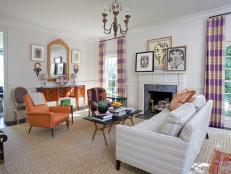
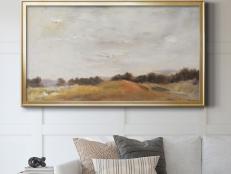
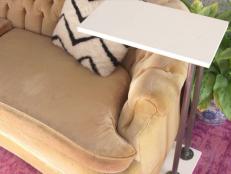
Living Room Furniture Ideas
Outfit your living room with our tips for choosing a sofa, coffee table and more.


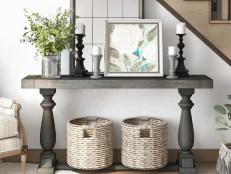


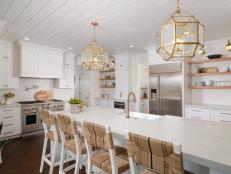

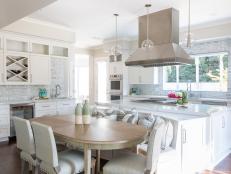


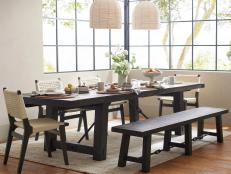
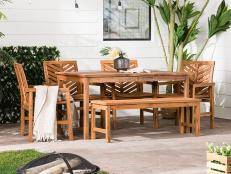
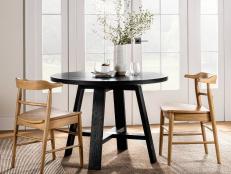
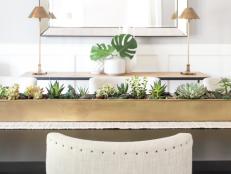
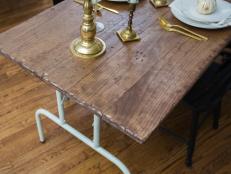
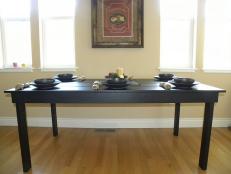
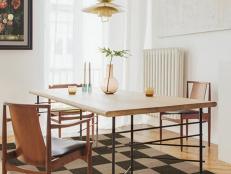
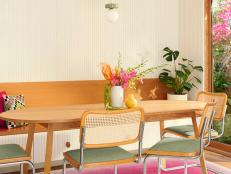
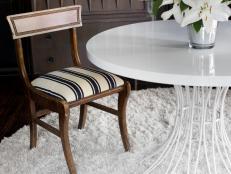
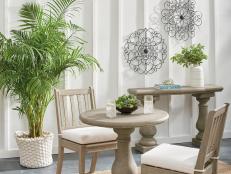
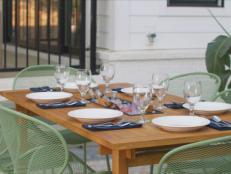
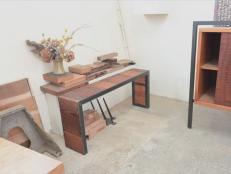
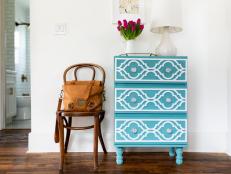
Dining Room Furniture Ideas
Refresh your dining room with a new (or refinished) table, chairs or buffet.


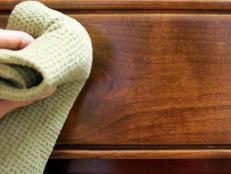
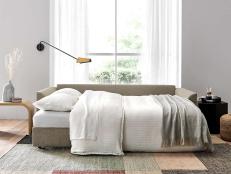
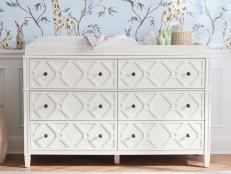
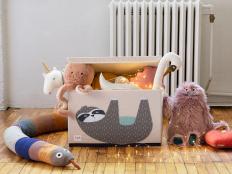
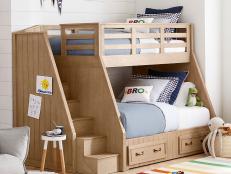
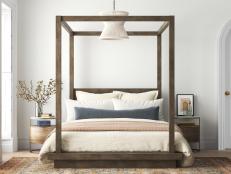
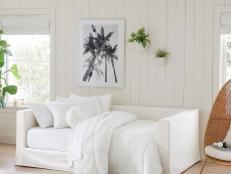
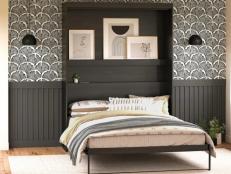
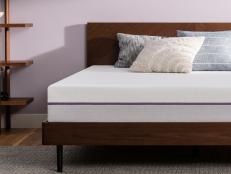
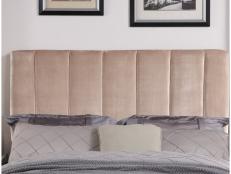
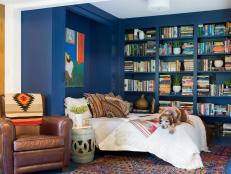
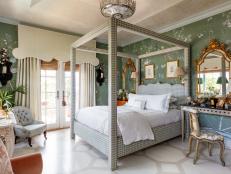
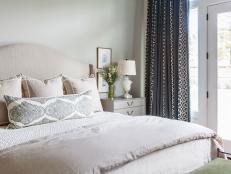
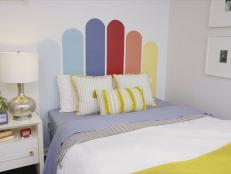
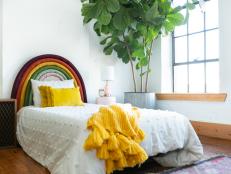
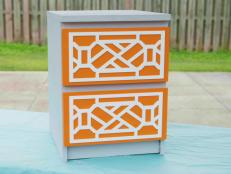
Bedroom Furniture Ideas
Buy or DIY your way to a dreamy bedroom with these product picks and projects.


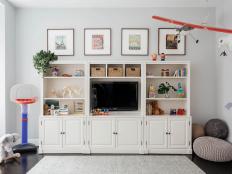
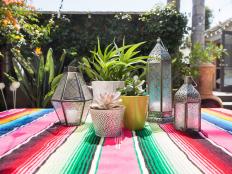
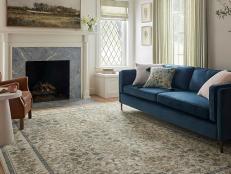
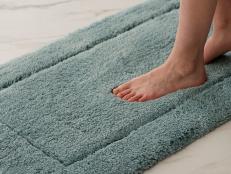
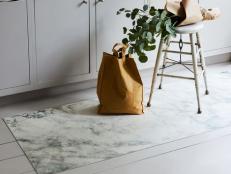
Rugs
Add style and comfort underfoot with our favorite indoor and outdoor rugs.


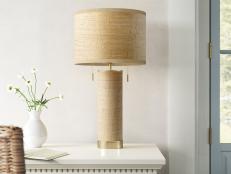
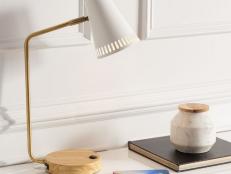
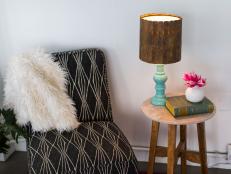
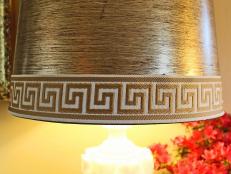
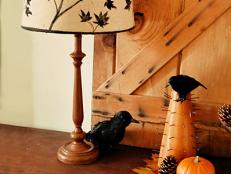
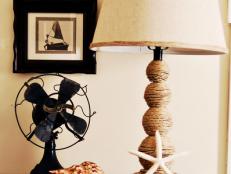
Lamps and Light Fixtures
More in LightingIlluminate your home with our tips and tricks for picking the perfect lighting.


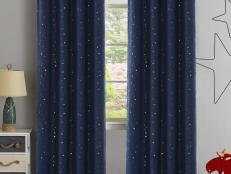
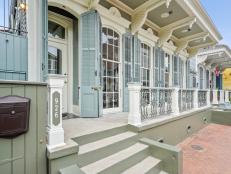
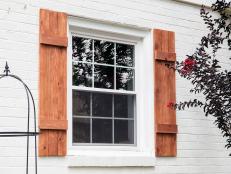
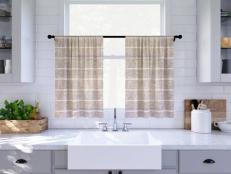
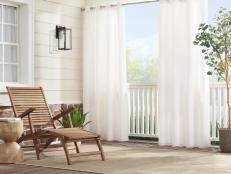
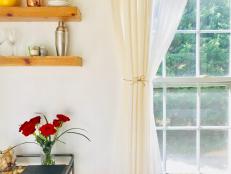
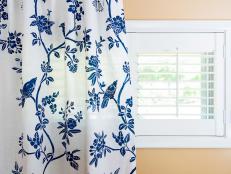
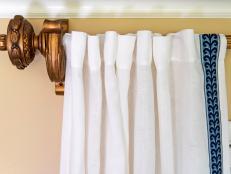
Window Treatments
More in Window TreatmentsFrom curtains to blinds to shades, find the right window treatments for your space.


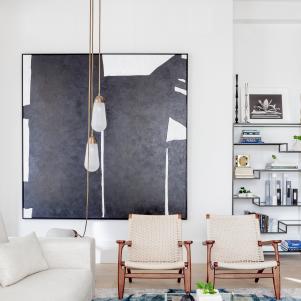
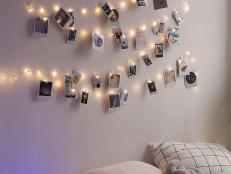
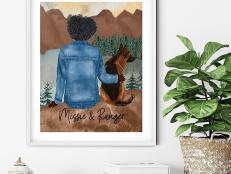
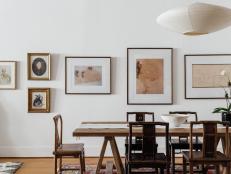
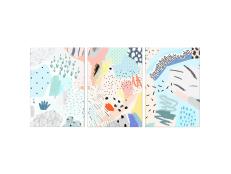
Wall Art
Shop the wall art we love and say goodbye to boring, blank walls.


Watch: DIY Furniture Ideas
More DIY Furniture Videos


From Our Magazine
Shop furniture and decor finds handpicked by HGTV Magazine editors.
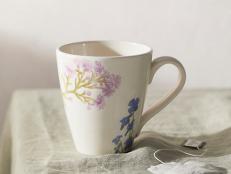
36 Mugs You'll Love, According to Your Horoscope Jan 18, 2024
It's a sign! Find your perfect mug with a little help from the zodiac.

10 Pretty Plaid Accessories for Your Pet Apr 2, 2024
Give your furry friend the gift of plaid this holiday season.

HGTV Magazine's 2023 Holiday Gift Guide Nov 6, 2023
The editors picked their favorite 50 gifts under $50. Find something fun (and affordable) for everyone on your list!

10 Stylish Pet Beds That Look Like Sofas Sep 15, 2023
Your pup will happily sit (and stay!) on these adorable pet sofas.
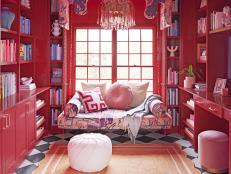
Step Inside Tiffany Brooks' Stunning Home Library Oct 2, 2023
This HGTV star has more than 1,000 design books in her gorgeous reading room. Check out her must-reads!

Farmers Market-Inspired Finds for Your Pet Apr 2, 2024
Celebrate peak farmers market season with your best pal. Shop the HGTV Magazine editors' favorite pet toys, accessories and treats …

Doggy Hiking Gear We Love Apr 2, 2024
Hit the trails with your four-legged friend — and some new gear! Shop the HGTV Magazine editors' favorite finds.
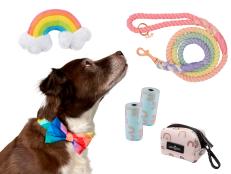
Shop Rainbow Finds for Your Pet Apr 2, 2024
Brighten your pup’s day with these rainbow-themed toys, treats and accessories from HGTV Magazine.
Shop These Floral Finds for Your Pet Apr 2, 2024
The editors at HGTV Magazine share their favorite flowery picks to keep your best furry friend looking fresh for spring.
How to Shop Secondhand Like a Pro Feb 18, 2023
In with the old! Secondhand home goods are hotter than ever. HGTV Magazine is here with all the tips to become a master thrifter.

HGTV Magazine's 2022 Gift Guide Nov 11, 2022
The HGTV Magazine editors picked their favorite 50 gifts under $50. Find something amazing (and affordable) for everyone on your l …

HGTV Magazine's 2021 Gift Guide Dec 16, 2021
HGTV Magazine editors did the scouting and scouring for you! We've got gifts for everyone on your list.

80+ Colorful Home Accessories HGTV Magazine Editors Love Apr 20, 2021
Pick your pop of color! Decisions, decisions … are actually a treat when you’re scrolling through super-fab finds in the hottest c …

HGTV Magazine's 2020 Holiday Gift Guide Nov 25, 2020
Really unique, totally cheerful, very very wonderful gifts (for everyone!).

10 Cute Fruit Accessories HGTV Magazine Editors Love Jul 1, 2020
These juicy summer staples will brighten any space. HGTV Magazine editors dish their top picks.
A Rainbow of Home Accessories HGTV Magazine Editors Are Obsessed With Right Now Apr 21, 2020
Cobalt, blush, ruby, ocher and more! Add a pop of color to any space with these super-cool home accessories in the trendiest color …

Kitchen Crocks We Love and the Cutest Utensils to Fill Them With Mar 20, 2020
With combinations like these from HGTV Magazine, even spatulas are exciting.

Redo Any Backsplash With These Supercool Peel-and-Stick Tile Ideas Mar 10, 2020
Stick 'em up with HGTV Magazine! Redo a backsplash the simple way — try peel-and-stick tiles that rival the real deal.
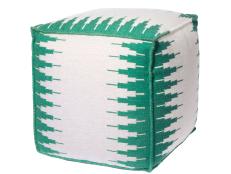
14 Poufs HGTV Magazine Editors Love Right Now Mar 9, 2020
Poof! Your room's cute. These little guys have the power to perk up an entire space.
Start With Art: How to Use Wall Art to Decorate Any Space Mar 6, 2020
Choose a piece of art and run with it! HGTV Magazine is here to help you redecorate any room.

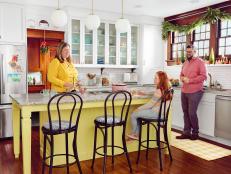
Tour a Supercool Modern Kitchen With 1960s Style Feb 10, 2020
A family renos their space, and it's a real blast from the past. Get all the details with HGTV Magazine.
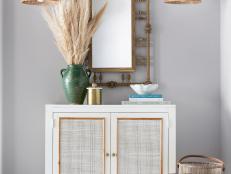
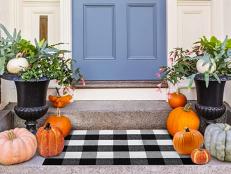
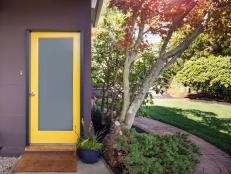
4 Fun Entryway Designs and How to Steal the Looks Jan 31, 2020
HGTV Magazine has some ideas for styling up that small-but-big-deal spot: paint colors, mirrors, lamps, rugs and more!
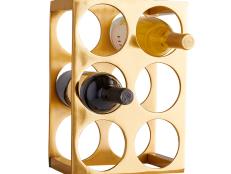
Gold Accessories That'll Make Any Space Shine Jan 28, 2020
These glam, yet simple accessories from HGTV Magazine (we've got flatware, planters, wallpaper and more!) are calling your name.

Power Up Your Powder Room With These Awesome Ideas Jan 8, 2020
They may be tiny, but they still deserve lots of love. Try out these cool powder room ideas from HGTV Magazine!
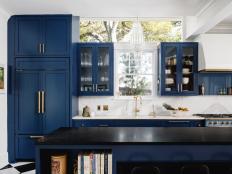
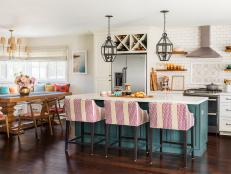
Tour a Bright Missouri Kitchen That's Full of Cheer All Year Long Nov 19, 2021
These homeowners know how to cheer up a kitchen. Now it's bright 365 days a year! Take a tour with HGTV Magazine.

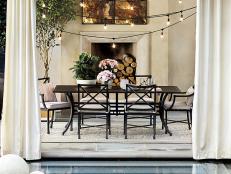
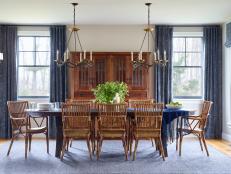
This Dreamy Reno Reset the Clock on a Blah Dining Room Nov 12, 2019
HGTV Magazine editors to the rescue: Color, pattern and fab brass touches totally transformed the dining room in this New Jersey h …

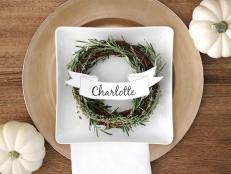
14 Ways to Get Your Tablescape All Set For the Holidays Nov 16, 2020
Why stop at a single centerpiece? Try these new ways to decorate a table from HGTV Magazine, then prepare for compliments!

The Top 12 Home Trends HGTV Magazine Editors Are Loving Right Now Nov 20, 2019
It only takes one trendy piece to totally change a room — and yes, these picks from HGTV Magazine are that good.
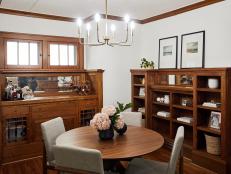
How This Homeowner's Best Friend Designed Her Cozy Kitchen Aug 29, 2019
Two decades of BFF-ing make for one great space. Take a tour with HGTV Magazine, plus find out what paint colors and products they …

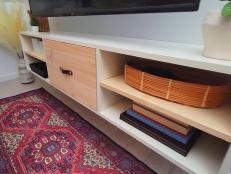
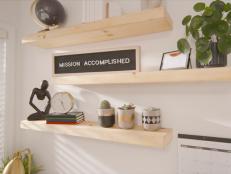
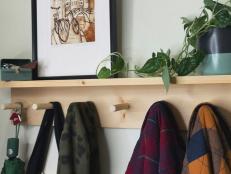
Top 10 Storage and Organization Picks to Help You Clear the Clutter Aug 29, 2019
HGTV Magazine created the most organized wall in the world. Get all the tips (and products) you need to get rid of clutter, for go …