


How to Build a Picket Fence
Add classic charm and curb appeal to your yard with a DIY garden fence that's easier to build than you might think. Follow our step-by-step to find out how to build a fence.

Shain Rievley
When choosing the right fence for your project, consider the function you want it to perform. Privacy? Pet protection? Curb appeal? Some fences are built simply to enhance the landscape or create a gentle boundary while others provide privacy or security.
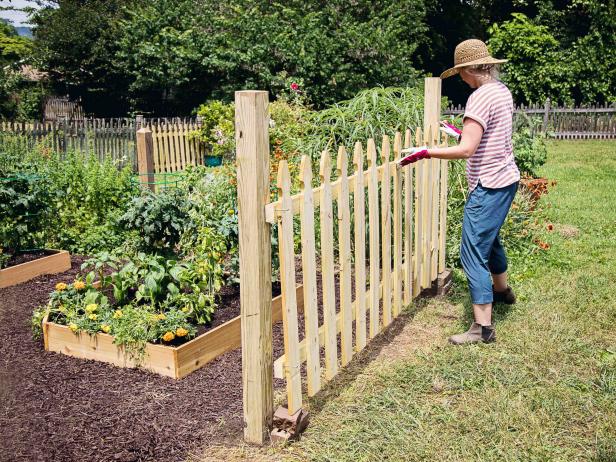
Consider a Picket Fence
But when curb appeal is the focus, a picket fence is a classic charmer. Usually installed along the street-facing edge of a yard or around a garden, its distinctive, familiar shape is an attractive choice.
Editor's note: Before digging, check here to see if you need a permit for this project and always consult your local utility and cable companies to mark the location of any underground services.
Materials Needed
- string
- stakes
- safety equipment
- post hole digger or auger
- measuring tape
- pre-fabricated fence panels
- post level
- gravel
- quick-setting cement
- bucket
- shovel
- 3" decking screws
- impact driver or drill
- fence post caps
- scrap bricks or pavers
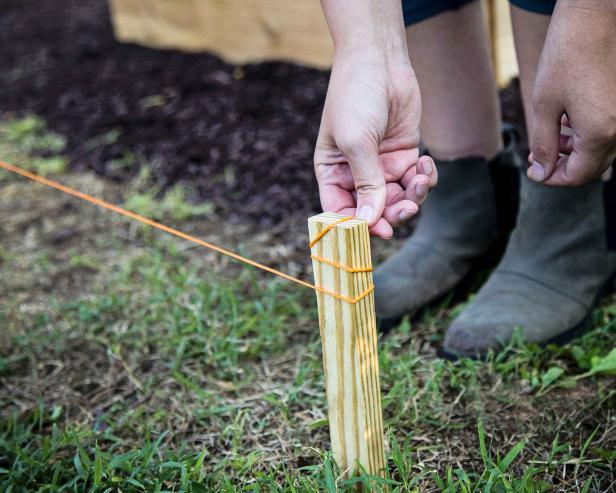
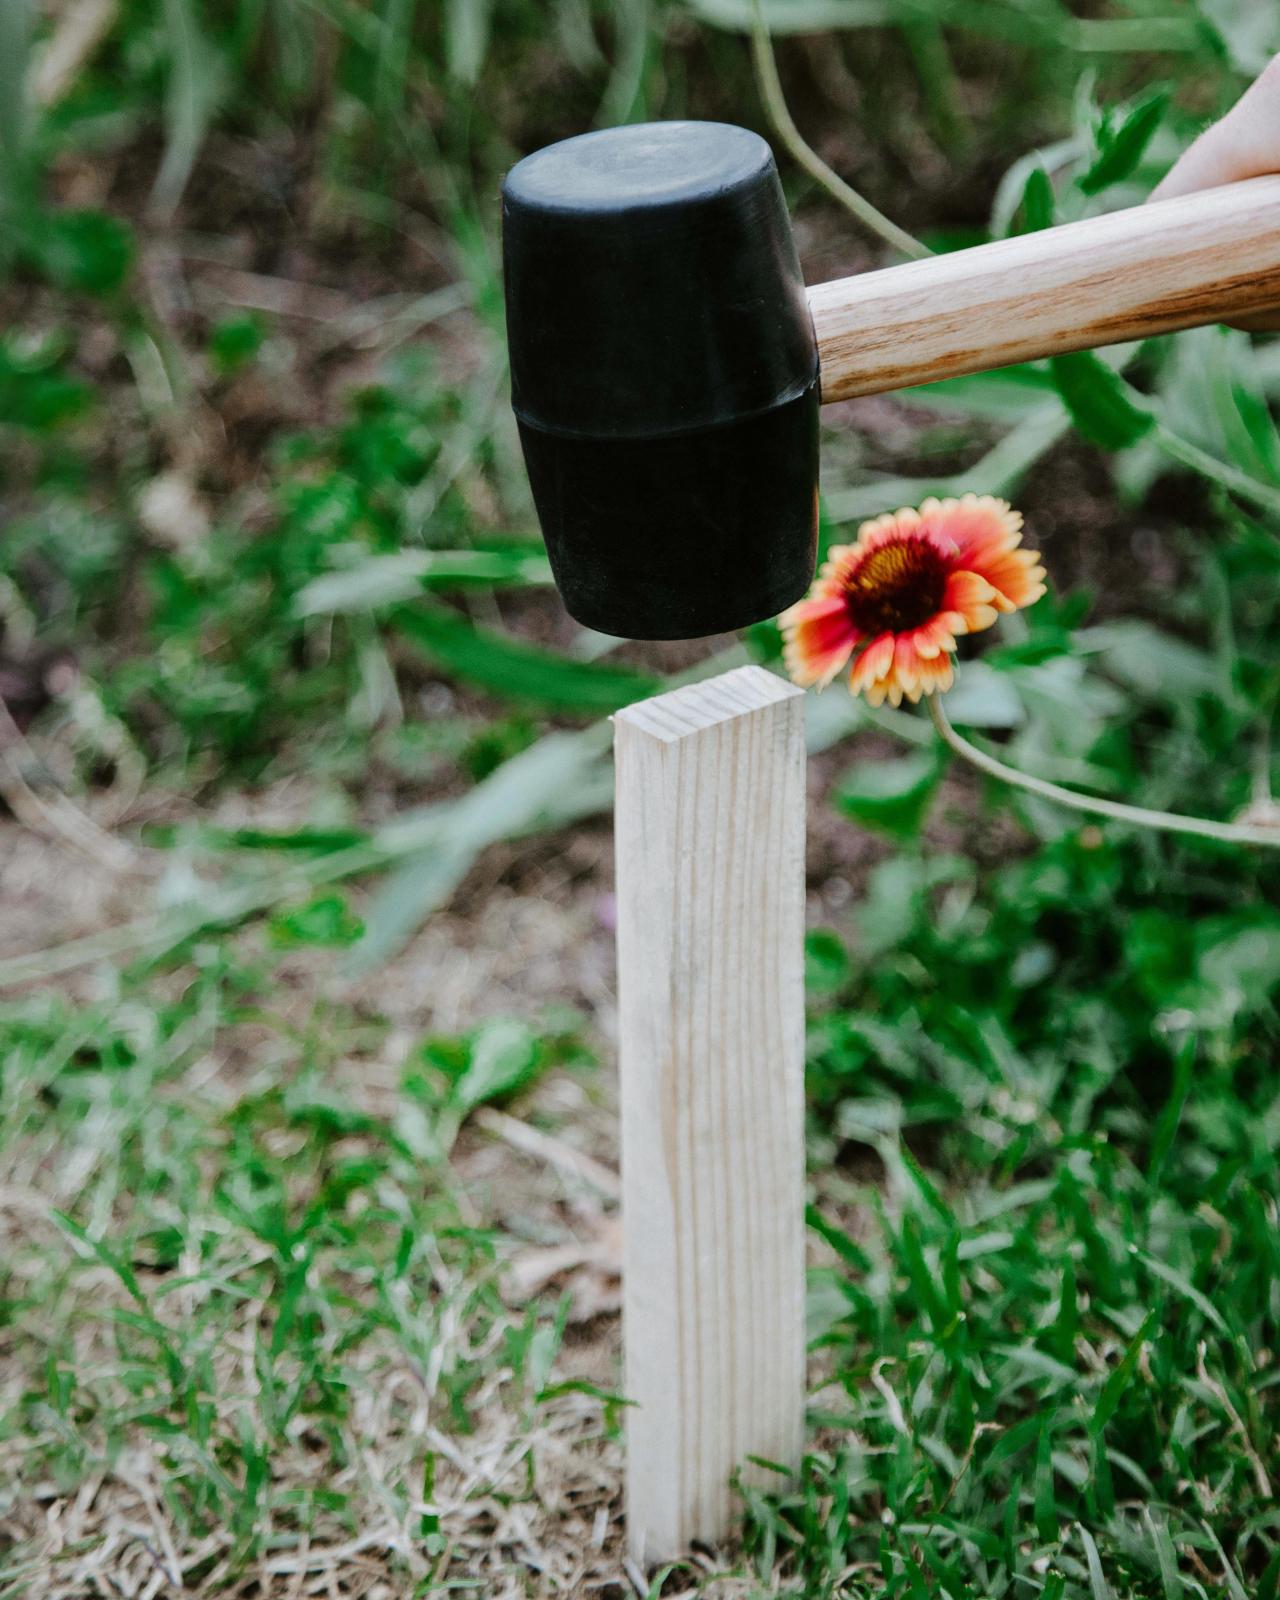
Lay Out Perimeter
Before you buy supplies, begin by sketching out your fence perimeter using stakes and string. This will allow you to accurately measure before purchasing fence panels and aid in keeping future holes in a straight line. If you are installing this fence in the front yard, be sure to accurately determine your property line and the legal setback distance from the road.

Shain Rievley

Shain Rievley
Shain Rievley

Shain Rievley
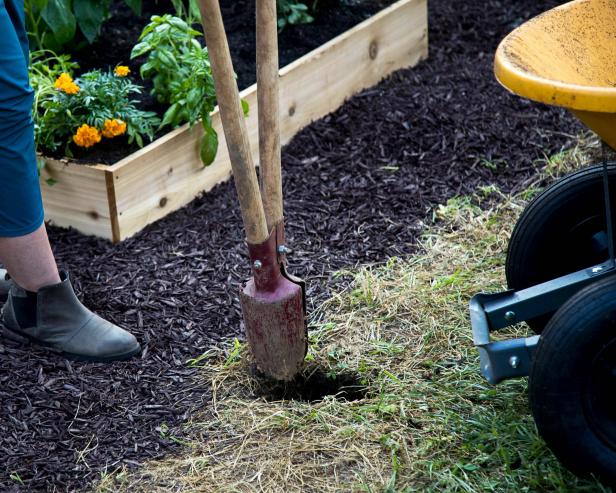
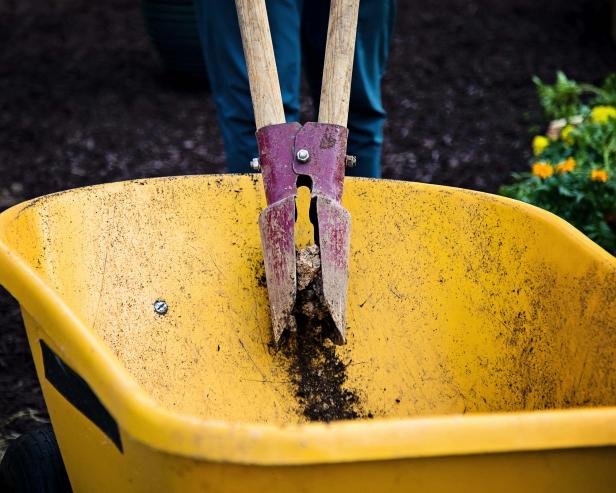
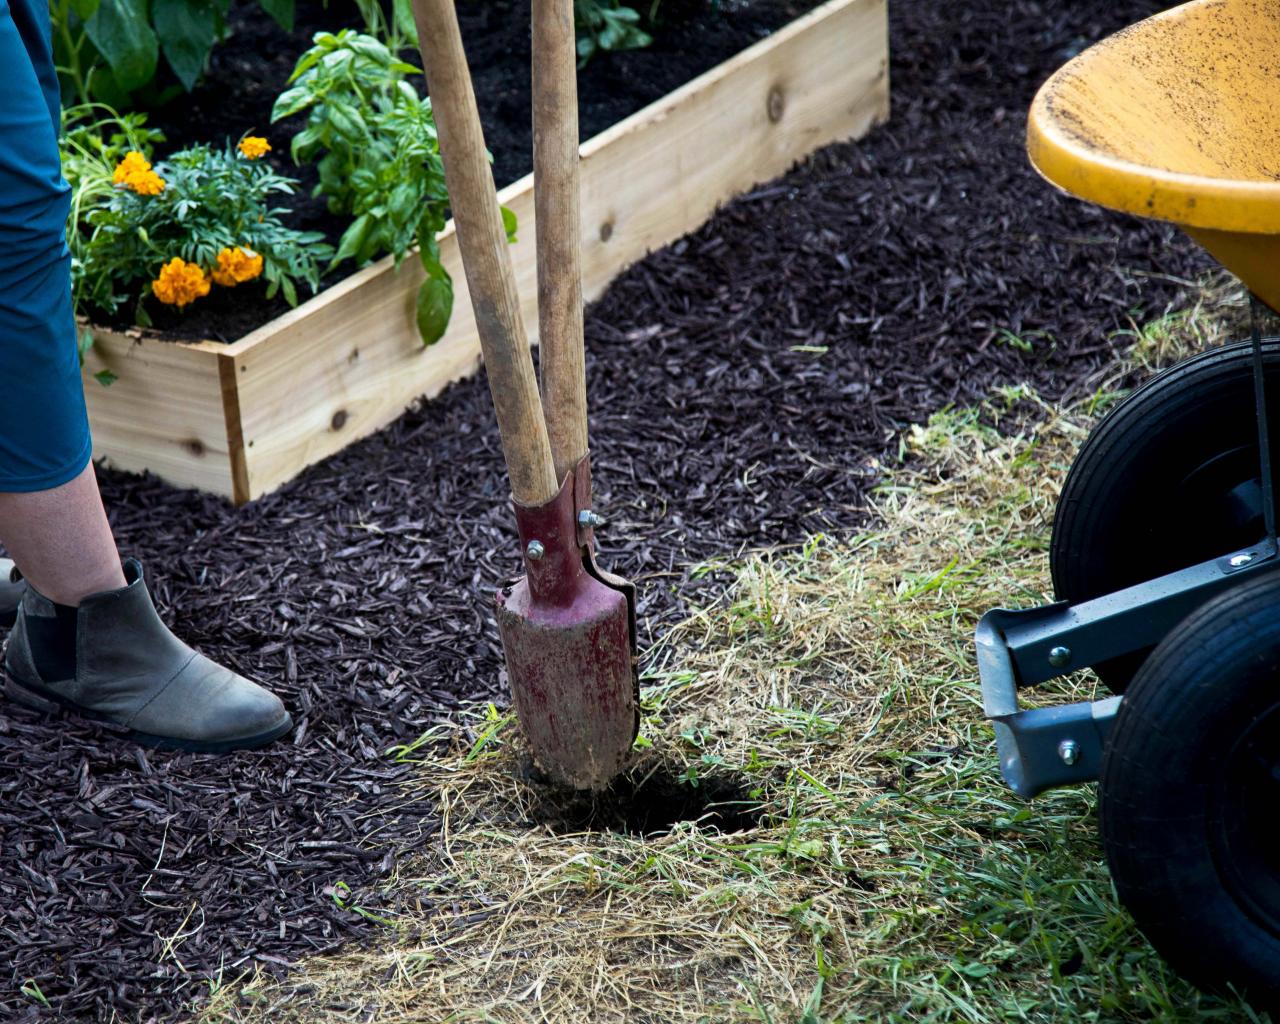
Dig Holes
Hole placement will be determined by a couple of different things: the length of the fence panels you purchase and whether or not you will hang a gate. Once you've determined how far to space your holes and marked the spots with spray paint, it's time to dig. Use a post-hole digger to dig straight holes just clear of the string line. Your hole's depth will be determined by the post you are using. For example, if your panels are four feet tall and your post is six feet tall, you should dig a hole around 18 inches deep. This will allow for plenty of post in the ground and enough excess on top to have room for the panels and post caps.
Shain Rievley
Shain Rievley
Pro Tip: For a simple picket fence, we recommend a #2 pressure-treated 4x4 post. These posts are plenty strong, will be treated for ground contact and last the longest in this application. While cedar is also a great option, these posts are much more cost effective.
READ MORE: How Deep Should I Dig Fence Posts?
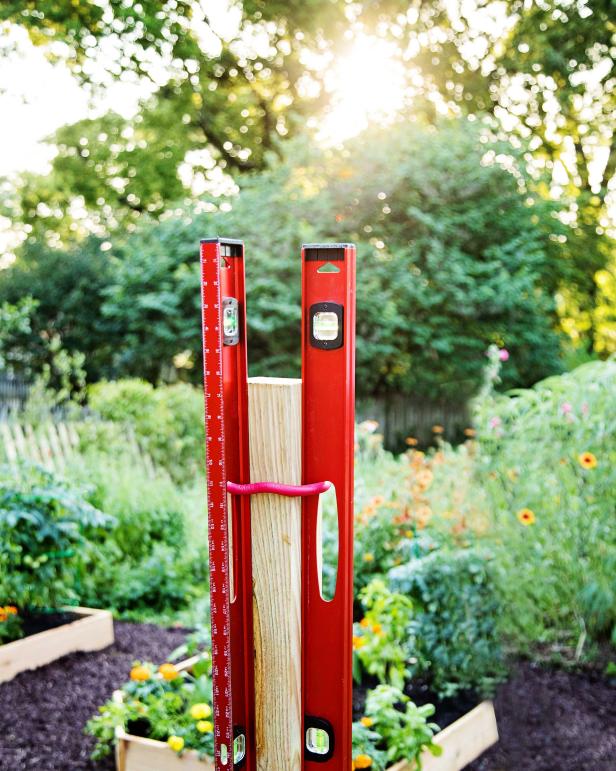
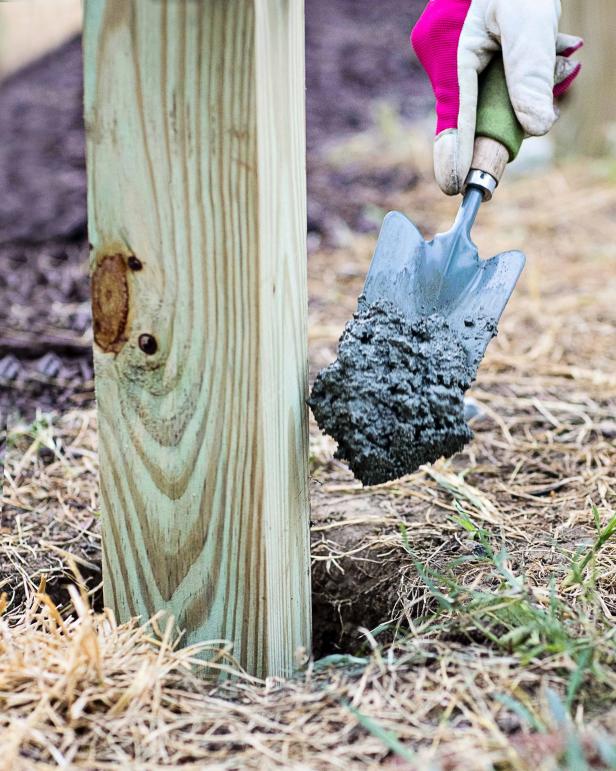
Set Posts
To securely set the posts, fill the bottom of your hole with a layer of gravel and place the post in the hole. Use a post level to ensure the post is plumb and pour concrete to hold the post in place. It is not necessary to fill the hole with concrete all the way to the top. Once the concrete has set, cover the remainder of the hole with the original dirt.

Shain Rievley
Shain Rievley
Shain Rievley
Pro Tip: If a post has a tendency to lean, temporarily nail scrap wood braces to the post and place on the ground to hold it in place until the concrete sets.
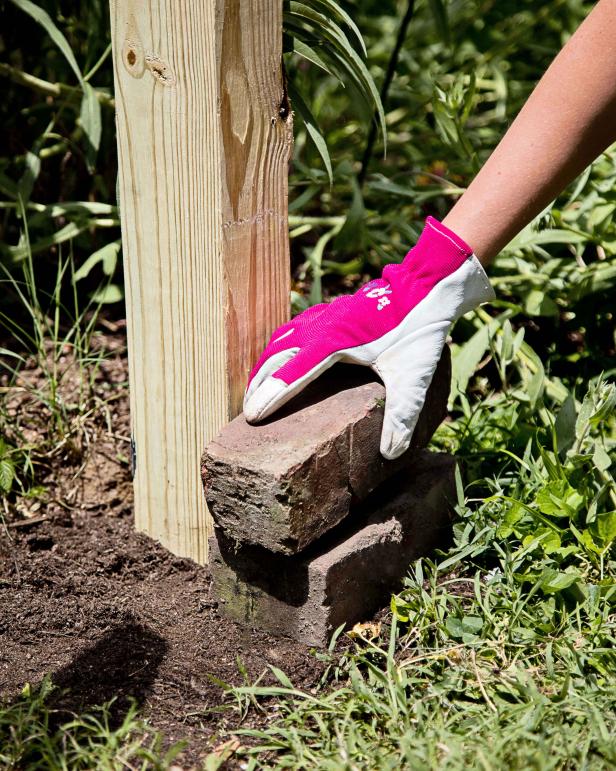
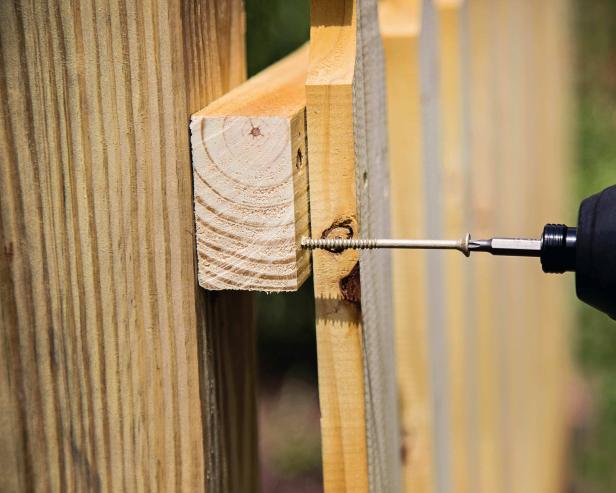
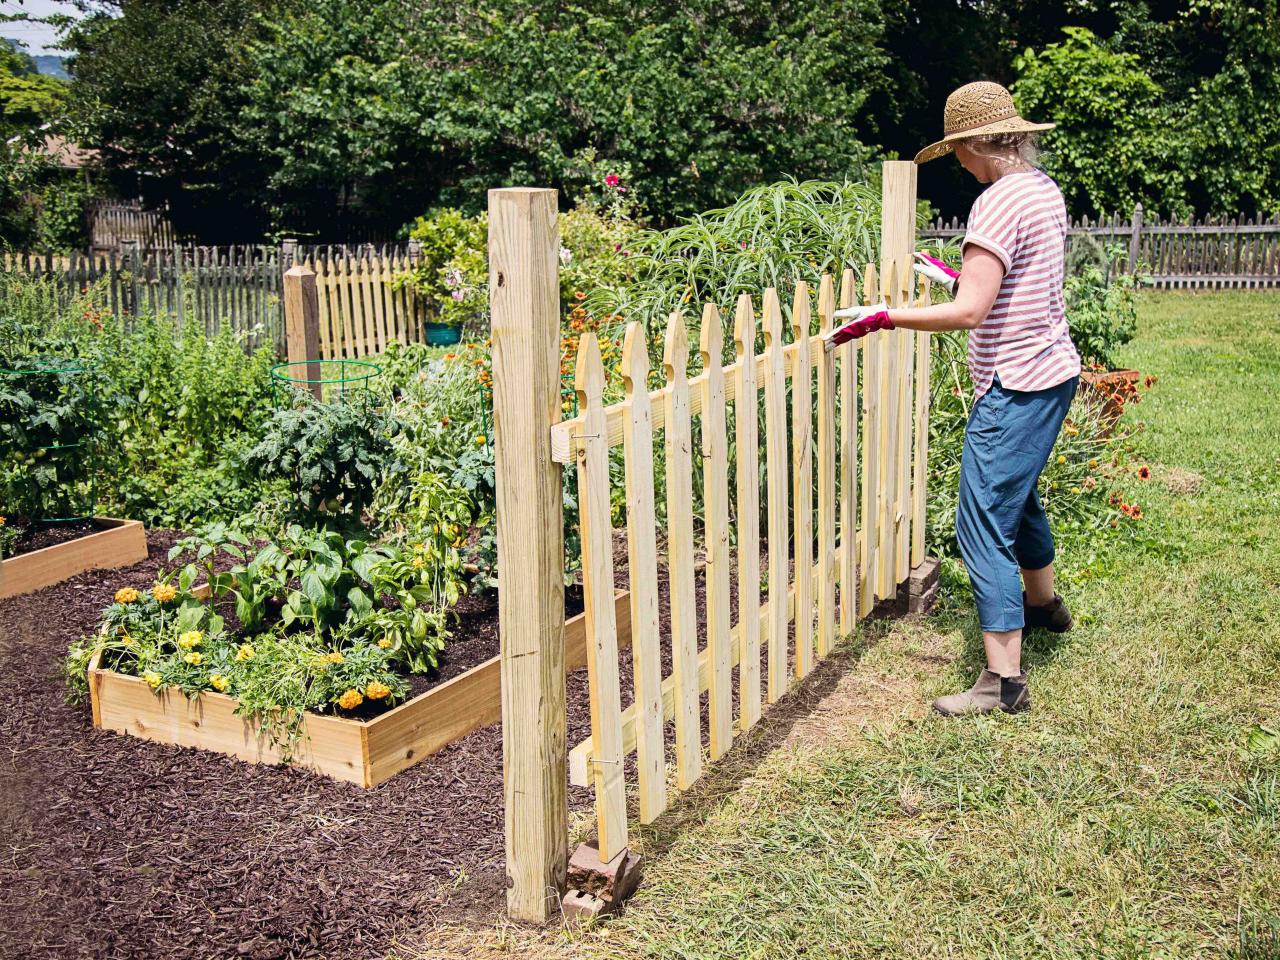
Attach Fence Panel
Now that the concrete has set and all the posts are in place, it's time to attach the fence panels. To do so, simply place the panel against the post and use bricks or pavers to elevate the panel to the position you desire. Place a level on top of the panel to use as a guide while you screw it into place. Secure the panel to the post using three-inch decking screws.
Shain Rievley
Shain Rievley
Shain Rievley

Shain Rievley
More to Love


Finishing Touches
Once the panels are in place, add a decorative look with post caps. Though these may seem like an unnecessary aesthetic piece, post caps will add years of life to your post by protecting the end grain from the elements. Some post caps or finials require screws or adhesive, so follow the manufacturer instructions when installing.

Shain Rievley
If you're up for one more DIY, we've got everything you need to turn a fence panel into a stunning gate:

Turn a Fence Panel Into a Gorgeous Garden Gate
Give your fence some customization and create your very own garden gate.


