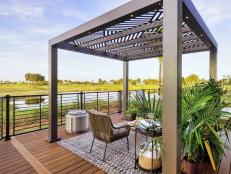
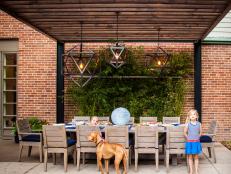
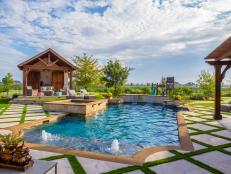
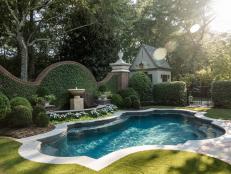
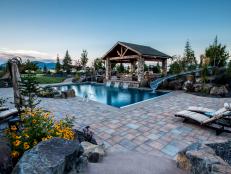
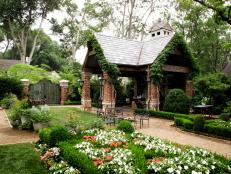
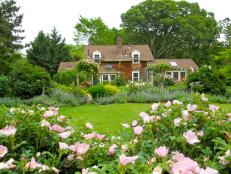
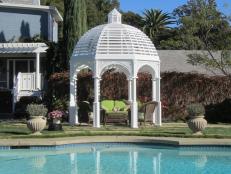
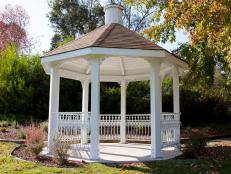
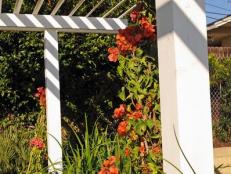
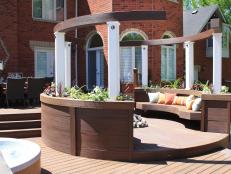
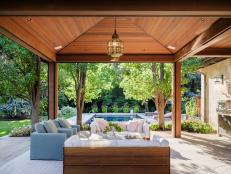
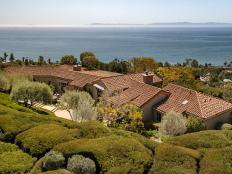
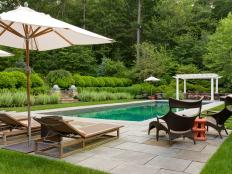
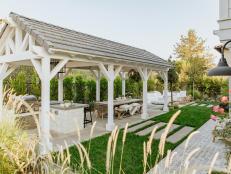
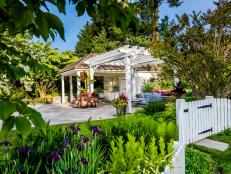
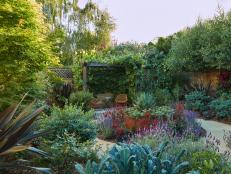
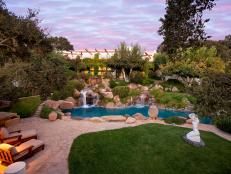
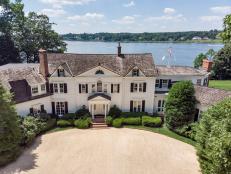
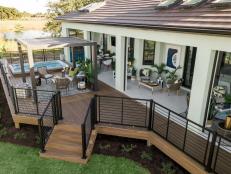
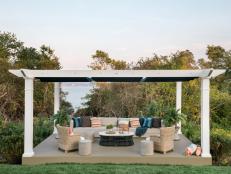
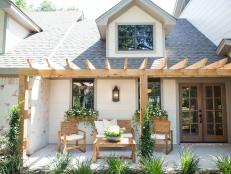
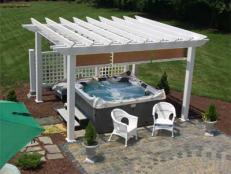
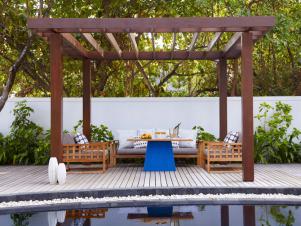
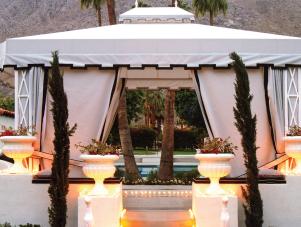
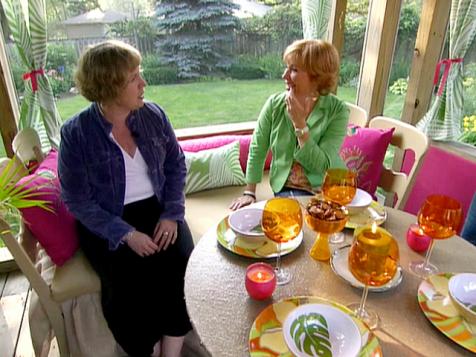
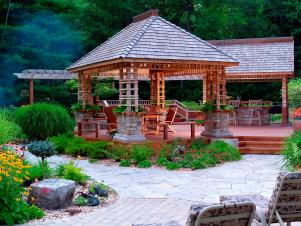
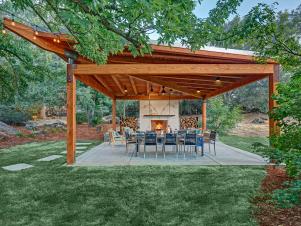
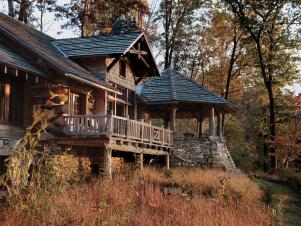
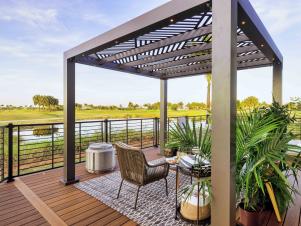
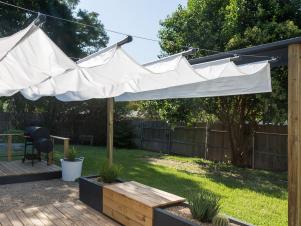
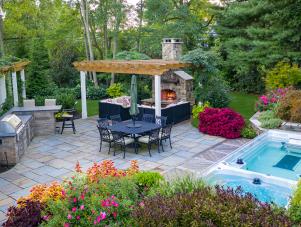
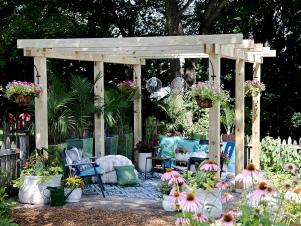
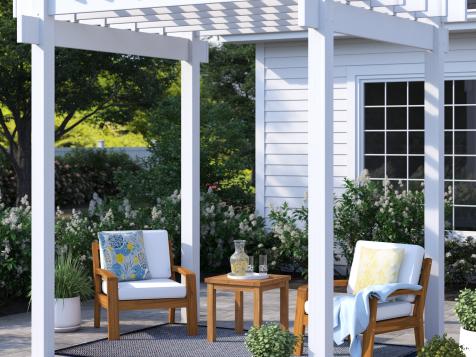
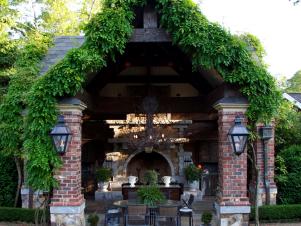
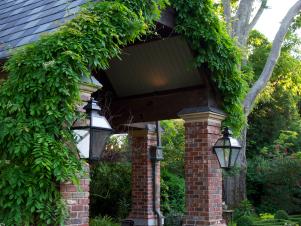
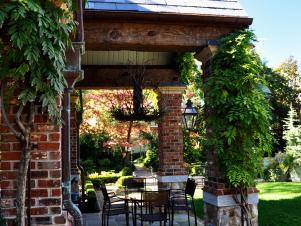
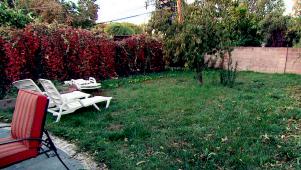
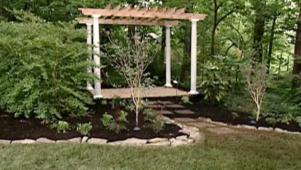
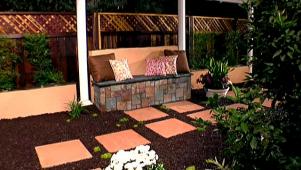
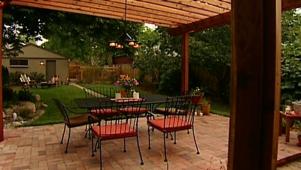
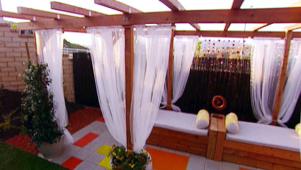
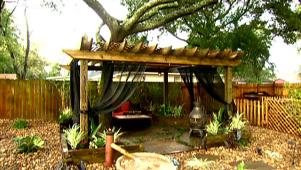
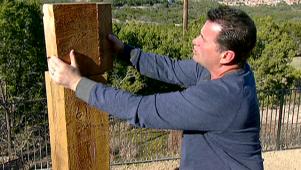
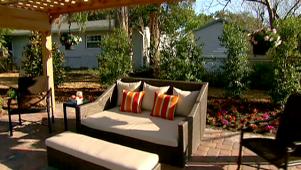
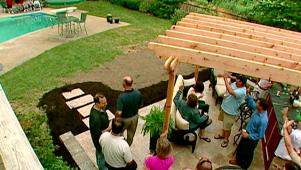
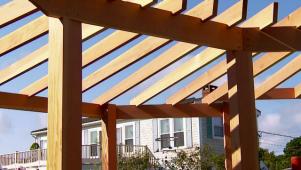
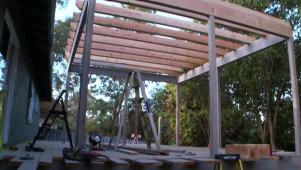
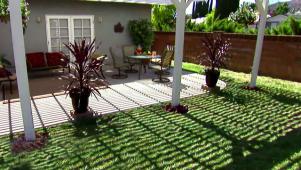
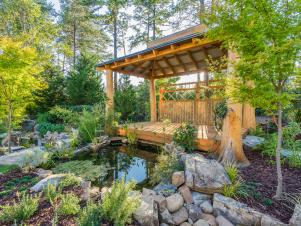
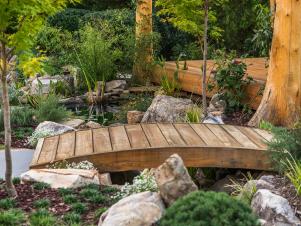
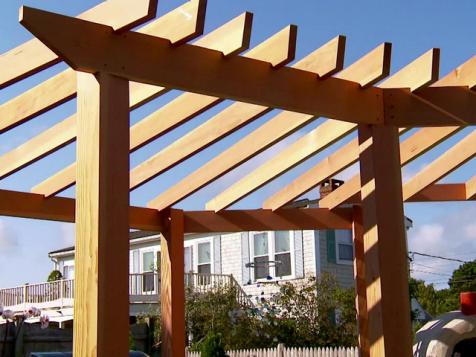
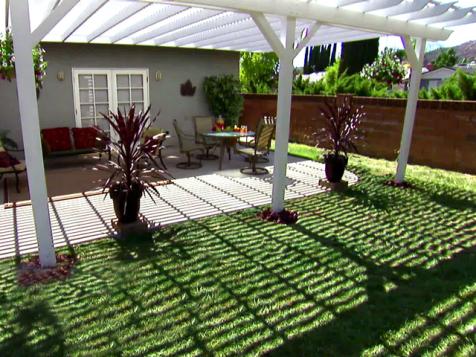
More in Outdoors
Select the site and mark the placement of the four posts that will frame the pergola. Using a post-hole digger or two-person auger, dig holes to a depth of 30". Add a few inches of gravel to the bottom of the holes for drainage. Insert 4" x 6" x 10’ posts in holes. Ensure the posts are level and plumb. Attach temporary 2" x 4" bracing to hold in place. Mix fast-drying cement according to manufacturer's directions and pour in holes. Let cure for 24 hours.
Cut the joist beams from 2" x 8" boards for the top of the pergola. To create a decorative look on the end of the joist beams, draw a curved design on the wood and cut along the line with a jigsaw. Attach the beams to the posts using 3" lag bolts.
Cut the stringers from 2" x 6" boards to span and overhang the joist beams. To create a decorative look on the end of the stringers, draw a curved design on the wood and cut along the line with a jigsaw. Evenly space the stringers perpendicular to the beams and toenail in place using 3" galvanized deck screws.
Attach decorative column, column base and column cap to the outside of each post using 3" galvanized deck screws. The columns are bulky and heavy and require more than one person to install.
Prepare beds near and around the pergola for new plantings by removing sod and tilling the soil. Dig holes, place plants, backfill the holes with soil, and water well. Add mulch around the plants to help retain moisture and give a finished look.
To install a paver walkway leading up to the pergola, mark out the path, remove sod and place the paving stones in the ground.
Consider adding low-voltage lights to illuminate the pergola and the plantings. Follow the manufacturer’s instructions when placing and installing lights.
Advertisement
All fields are required.
Signing in

Please enter your email address and we will send your password
E-mail Address
Your password has been sent and should arrive in your mailbox very soon.
Sign up with DIY Network to share tips with other do-it-yourselfers and comment and ask questions on projects.
It's free and easy.