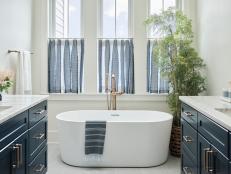
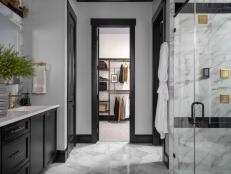
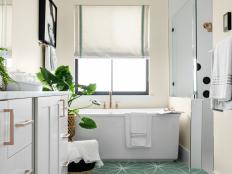
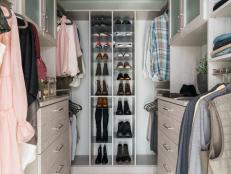
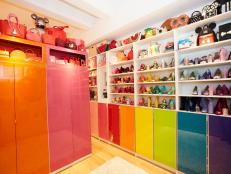
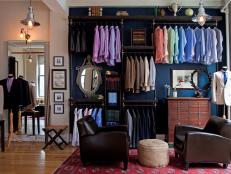
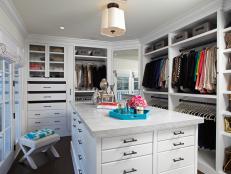
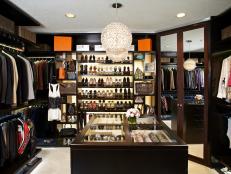
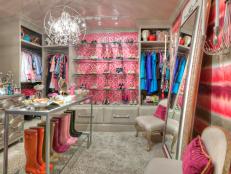
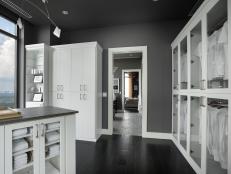
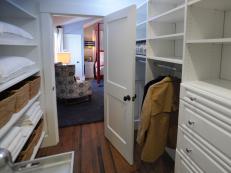
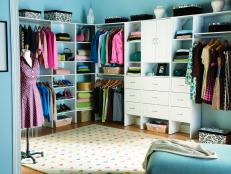
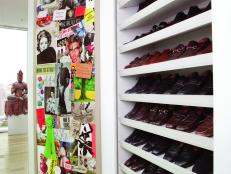
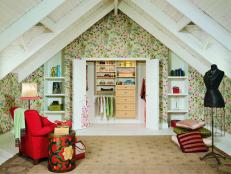
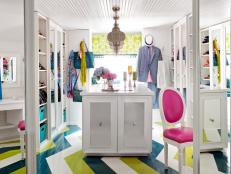
The Best Closet Systems for Walk-Ins, Reach-Ins and Spaces Without One
Make the most of your wardrobe, however big or small, with a closet system that will do the sorting and organizing for you.
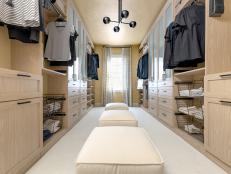
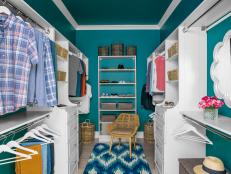
Browse through our collection of closet designs and discover helpful organization ideas including tips for walk in closets and shelving.
Make the most of your wardrobe, however big or small, with a closet system that will do the sorting and organizing for you.
Get product recommendations from HGTV editors, plus can’t-miss sales and deals.