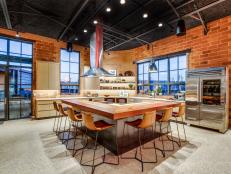
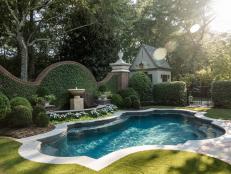
Stunning Structures: Canyon-View Pool and Outdoor Kitchen With Fire Pit
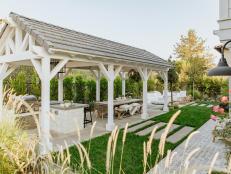
Shaded by an arbor, this La Jolla outdoor kitchen is surrounded by a low wall of red brick that provides extra seating. Both the kitchen and the adjacent pool have stunning views of the nearby ocean and valley.

30 Painted Brick Fireplaces That Radiate Coziness
Has your brick fireplace seen better days? Freshen it up with paint! Our gorgeous collection of painted fireplaces offers ideas for every design aesthetic, from boho to farmhouse to contemporary. Plus, find DIY tips on how to achieve some of today's most popular brick fireplace looks like German smear, whitewash and more.
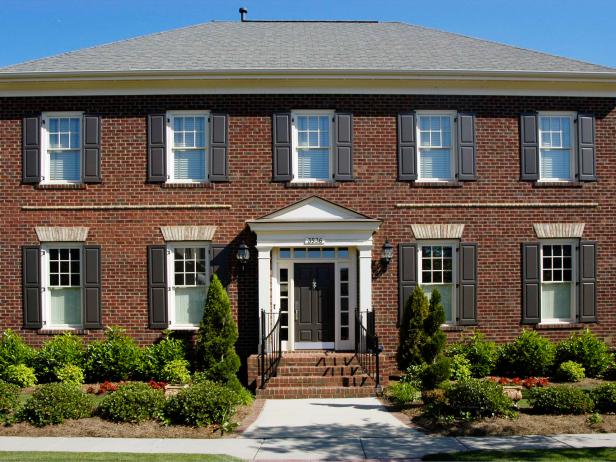
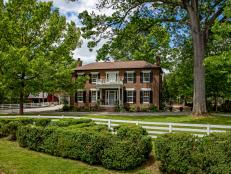
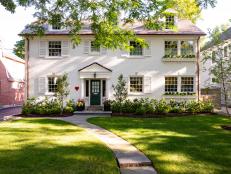
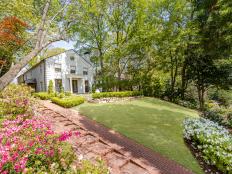
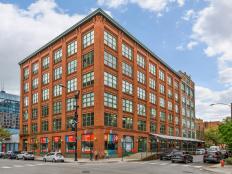
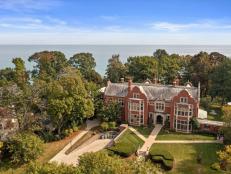
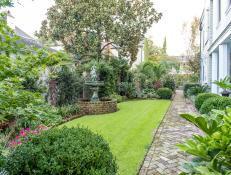
Beautiful Brick Homes
Browse pictures of homes that have incorporated the classic look of brick into their exterior design.