


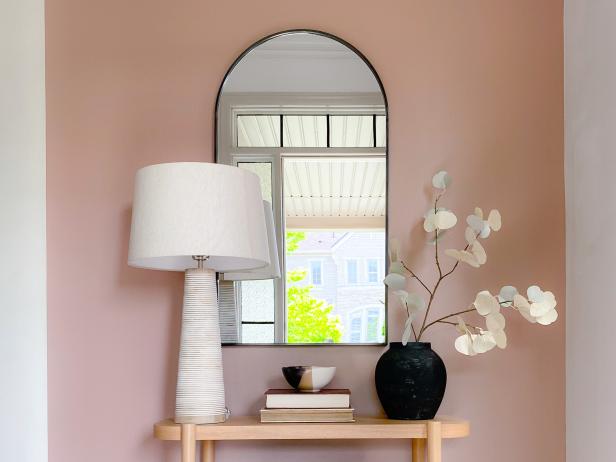
Warm Paint Shade Ideas We Love: Red, Pink, Orange, Yellow and More
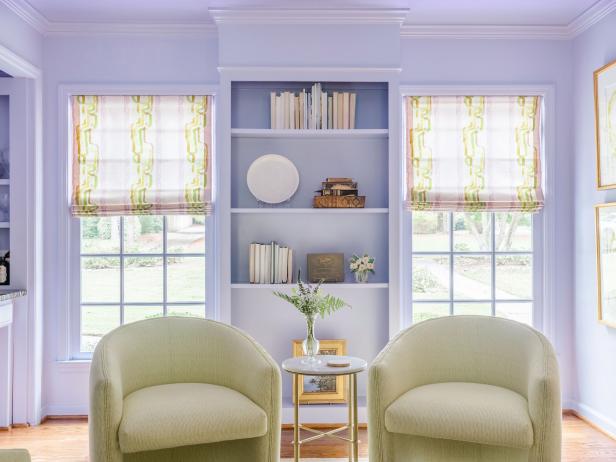
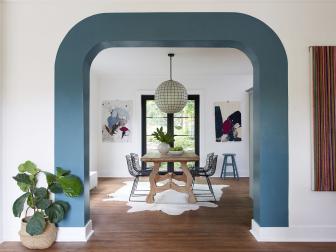
Cool Paint Shade Ideas We Love: Blue, Green, Purple and More
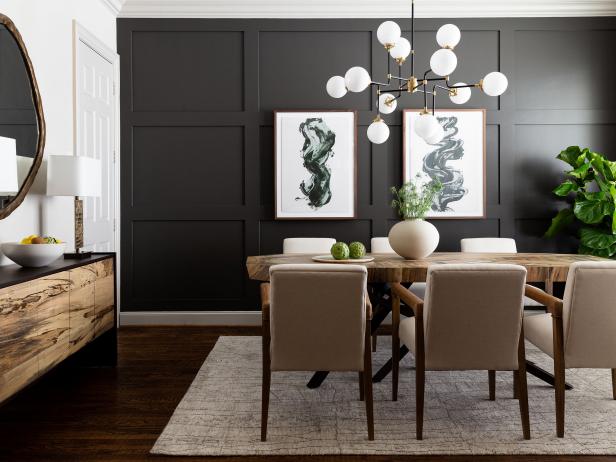
Neutral Paint Shade Ideas We Love: Beige, Taupe, Gray, Black, White and More
Painting Ideas and Advice
50+ Paint Shades We Love and How You Can Use Them 135 Photos
Wow! What color is that? HGTV Magazine is here with some tips on how to use even the most vibrant colors around your house.

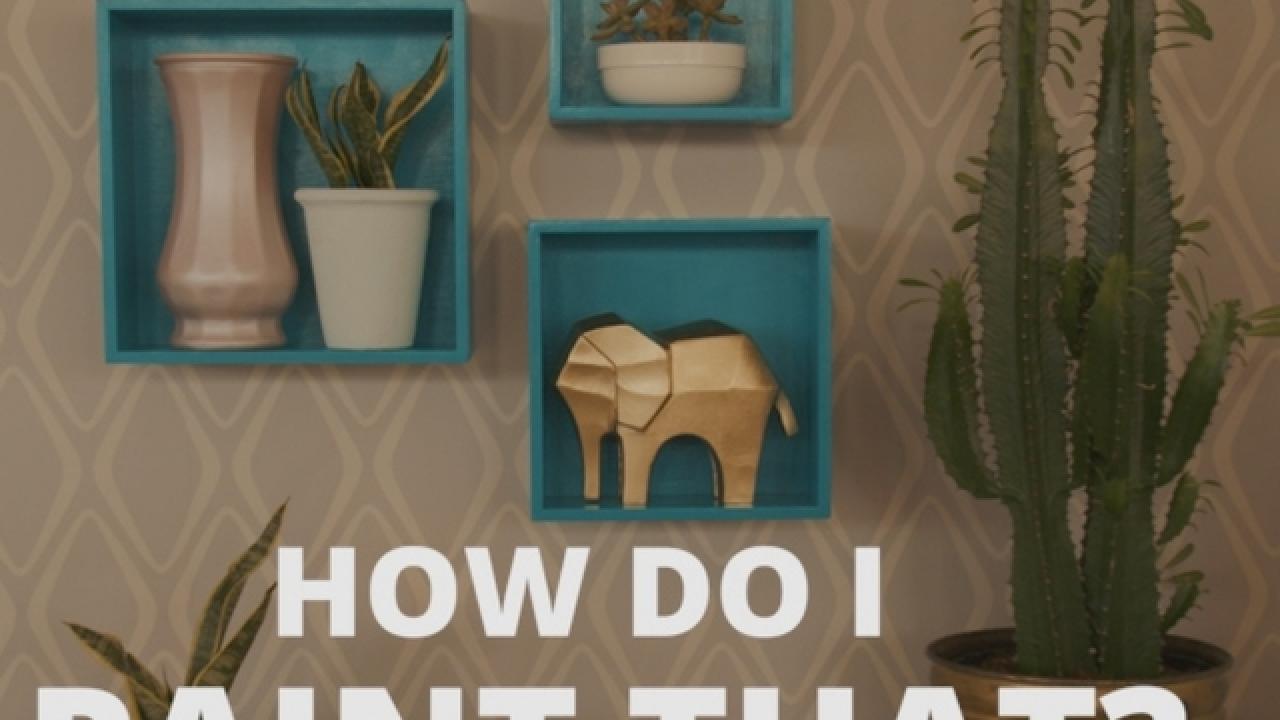
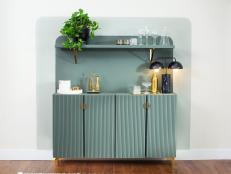
Painting Tips and Ideas

This Artist With Synesthesia Painted the Sounds of Wildlife During the Solar Eclipse Apr 12, 2024
Sound-to-color synesthetic painter Sarah Kraning took to canvas to document the shifting sounds of wildlife during the total solar …

Block Print Like a Pro: How to Carve Rubber Stamps for Fabric Printing Oct 17, 2023
If you’ve always wanted to create your own T-shirt design, this tutorial by Maine artist Allison McKeen will have you block printi …
How to Design a Bold Home Bar Inspired by 'Windy City Rehab' Jun 27, 2023
Skip the trip downtown this weekend and build this bold in-home bar inspired by Windy City Rehab instead.
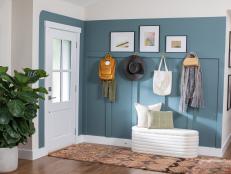
Give Your Entryway Design a Bold Makeover Inspired by 'Windy City Rehab' Jun 27, 2023
Take a cue from Windy City Rehab and give your home's entryway a bold makeover with a painted accent wall.

The HGTV Stars' Favorite White Paints May 22, 2023
Choosing the best white paint for your space can be a challenge. Our experts and designers are here to help.
The Ultimate Guide to White Paint May 15, 2023
If you’re painting your walls white, the options are endless. This handbook from HGTV Magazine will help you find the right one.
How to Paint a DIY Mountain Wall Mural May 9, 2023
HGTV shows you how to create a custom mountainscape painting. It is easy; no advanced artistic skills are required. It’s also inex …
How to Simply Paint a Room Dec 15, 2022
Learn how to paint both walls and molding like a pro with these simple steps.
Behr’s 2023 Color of the Year, Blank Canvas, Can Transform Any Space Into Its Namesake Sep 16, 2022
The warm, tranquil white complements a variety of patterns, hues and materials, allowing us to create a completely-personalized sp …

The Best Paint Tools and Gadgets for Prepping, Painting and Touching Up Your Home Aug 17, 2022
We've rounded up everything you'll need for a flawless interior paint job.
Developing a Daily Creative Mindfulness Practice With Lorene Edwards Forkner May 27, 2022
In her new book, Color In and Out of the Garden, artist and garden expert Lorene Edwards Forkner shares a personal project — daily …

3 Easy Paint Tricks to Try From Keith Bynum May 27, 2022
We trust Bargain Block co-host Keith's tried-and-true tricks. Here's how to recreate three of his coolest paint hacks in your own …

Egypt Sherrod Used the Coolest Paint Trick in her Winning 'Rock the Block' House Jan 18, 2023
Create a bold-but-cozy room with this super-easy paint trick.
Painting Kitchen Backsplashes May 1, 2024
Find out everything you need to know about painting your kitchen backsplash, plus our favorite techniques to inspire your next DIY …
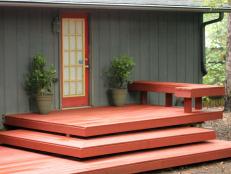
How to Refinish a Wood Deck in a Weekend Apr 6, 2023
See how we cleaned, pressure washed and painted a multi-level deck to give it a fresh look and to maintain it so it will last for …

Easy-to-Make DIY Beach Scene Painting May 9, 2022
Bring the ocean right into your living room with this fun, easy-to-make DIY beach scene painting. Make it on your own or at a pain …

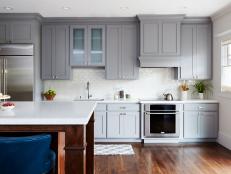
Great Color Ideas for Painting Kitchen Cabinets Jan 5, 2023
Longing for a change to your kitchen's look? Nothing makes an impact like paint. Discover the best colors for kitchen cabinets and …

Best Colors to Paint a Kitchen May 7, 2024
Discover the best paint colors to use in your kitchen.
Step-by-Step Guide on How to Paint Kitchen Cabinets May 3, 2024
Get all the details on how to paint kitchen cabinets in this step-by-step guide.

How to Paint an Abstract Landscape Design on a Dresser Jan 18, 2022
Learn how to revive an old piece of furniture by refinishing it in a colorful trompe l'oeil-inspired design.

How to Paint a Block Pattern on a Midcentury-Mod Credenza Jan 14, 2022
See how an old beat-up dresser was refinished with a combination of paint and stain to create a bold, one-of-a-kind design.
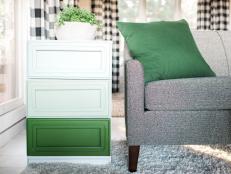
How to Paint an Ombre Effect on a Dresser Jan 14, 2022
Use several shades of the same paint color to bring a colorful touch to a piece of furniture.
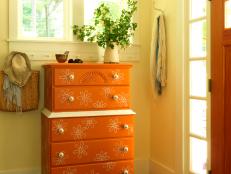
How to Paint a Retro Floral Design on a Dresser Jan 13, 2022
See how we used ice cream sticks to give an old dresser a funky 1970s-inspired look.

How to Paint a Staircase Jan 11, 2022
Learn how to paint a decorative runner on a wooden staircase.

The Right Type of Paint for Every Type of Project (Plus, How to Prep for That Paint) Apr 8, 2024
You can’t use the same paint on all surfaces. Learn the best type of paint for common household materials such as brick, tile, por …

How to Paint Over Wood Wall Paneling Oct 26, 2021
No need to tear down that dingy 1970s paneling. Learn how to fill in the grooves and cover with a fresh coat of paint.
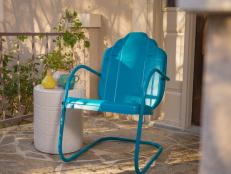
How to Strip and Paint Metal Furniture Apr 18, 2024
Learn how to strip rust off a piece of outdoor metal furniture and repaint it for a brand-new look.

How to Paint Wood Furniture May 7, 2024
Learn how to strip, sand and paint wood furniture.
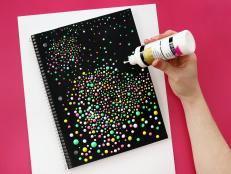
Design a Puffy Paint Textured Notebook Cover May 9, 2022
This craft is one of the most oddly satisfying things you’ll do today.

HGTV Obsessed Episode 30: Annie Sloan Jan 2, 2022
This episode is all about paint. Annie Sloan, the creator of Chalk Paint® shares her success story. Then Kristin Luna, of Do More …


