


Upstairs Laundry Room Pictures From HGTV Smart Home 2024
The efficient laundry room combines innovation with serious style. A white washer and dryer with smart features, pull-out hamper, and a toe kick vacuum are some of the components of this hard-working space with teal-colored cabinetry.

38 Laundry Room Ideas You'll Love
These eye-catching laundry room designs prove that the home's most common multifunctional space can be both beautiful and efficient.
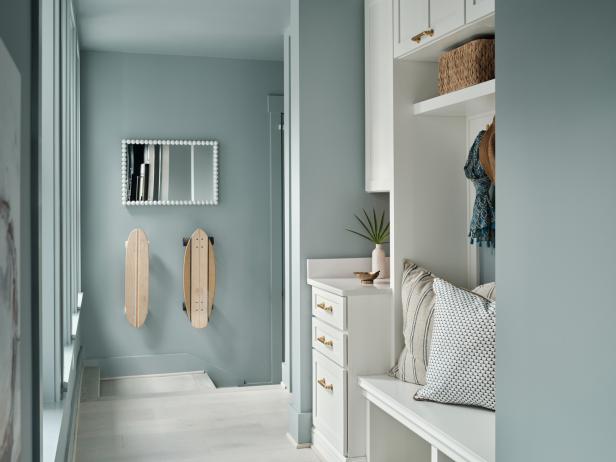
Mudroom + Laundry Room From HGTV Dream Home 2024
An efficient laundry room and well-organized mudroom sit between the kitchen and an attached two-car garage. These hard-working and stylish spaces make it easy to do chores and keep track of the grab-and-go items you need as you head out the door.

Loading Video...


