


How to Whitewash Wood: Whitewashing and Pickling Techniques
Easily brighten and add rustic charm to furniture and a variety of wood surfaces with these budget-friendly whitewashing and pickling techniques.

Regardless of what trends come and go, whitewashing and pickling have always been go-to ways to add rustic, cozy charm to a space. The tried-and-true techniques are easy, low-budget means of quickly transforming furniture, walls, floors, ceilings and nearly any other wood surfaces you can think of. Best of all, the beauty is in the imperfection, so you don't have to be an expert!
How to Whitewash Wood
© Rustic White Photography; LLC
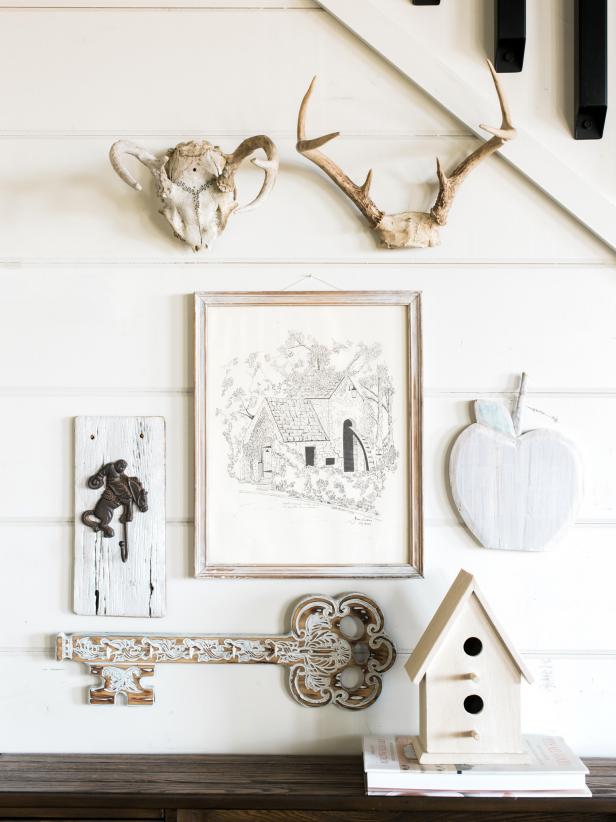
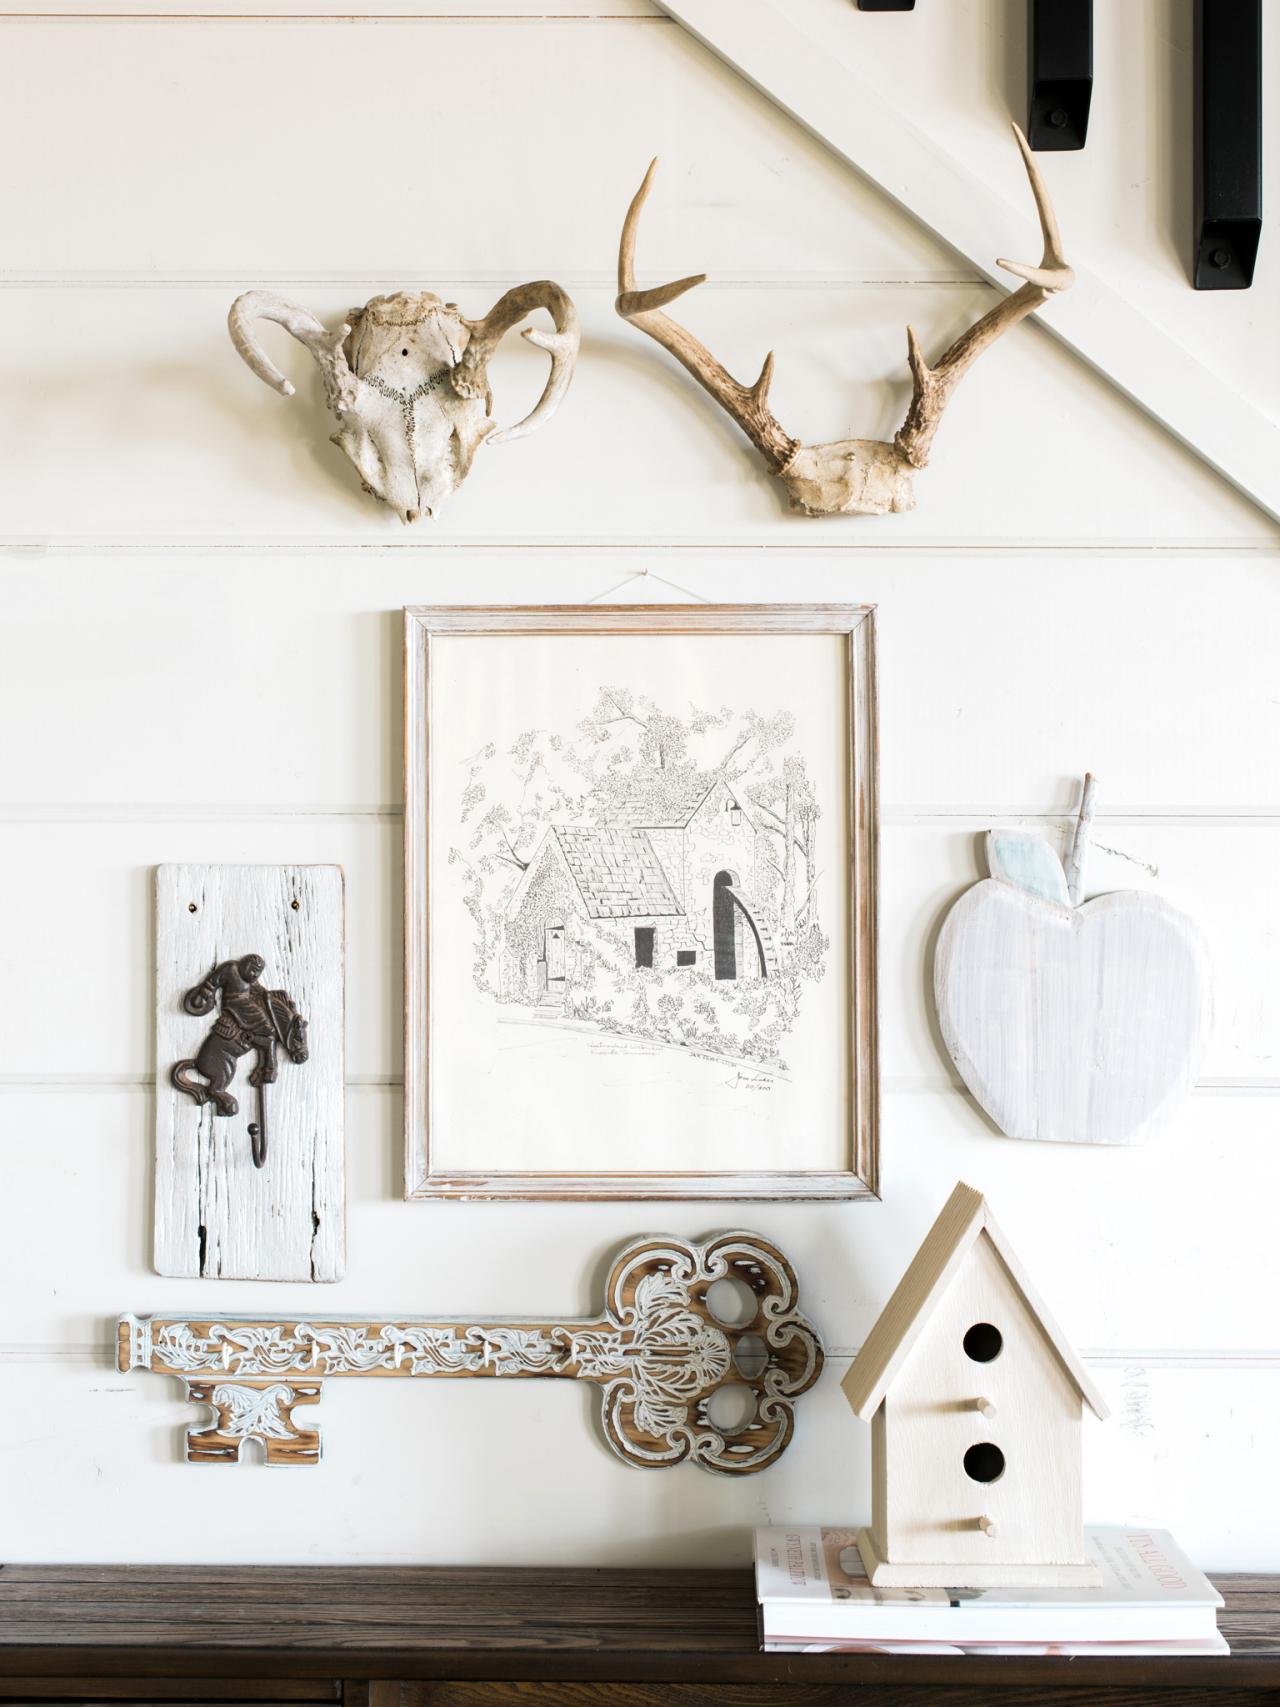
Though the term "whitewashing" gets tossed around for a variety of white finishes, it generally refers to painting a surface (most often wood) with watered-down, white paint. Whitewashing with slaked lime and calcium carbonate paint was used routinely to paint the rough surfaces of dairy barns, which is why the barns are famously white. The slaked lime and calcium carbonate paint was popular for its hygienic and sanitary properties, its ability to protectively coat rough, uneven surfaces and, of course, its rustic charm. Though whitewashing has moved away from its lime and calcium carbonate roots, the rustic charm and ease of application have stood the test of time.
Materials Needed
- white latex paint
- stir stick
- mixing bucket
- water
- paintbrush
- spray bottle
- damp cloth
- sander + sandpaper
- water-based clear coat
- personal protective equipment
1. Mix Whitewash
As mentioned before, the term "whitewash" is used for a variety of finishing techniques, including using a mixture made from hydrated masonry lime and crushed rock salt. We recommend a water and paint mixture. It's super easy to mix and apply, and it's budget-friendly.
Mix white, latex paint with water in a 1:1 ratio, which will give you a nice, transparent look. Test on a scrap piece of wood or an inconspicuous area, then adjust the ratio to your liking. Add more paint for a less transparent finish.
2. Prep the Surface
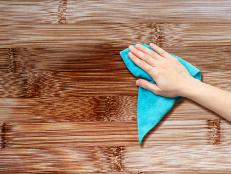
You can prep your surface before mixing the whitewash, but it is helpful to test the whitewash mixture on your surface to predetermine how much prep you'll need. For many wood surfaces, a thorough wipe-down is sufficient, as the paint will stick to the surface. However, a light scuff with sandpaper is always beneficial for helping the paint to adhere to the wood.
3. Apply Whitewash
Once your surface is prepped, begin your application. Using a paintbrush rather than a roller, work your mixture onto the surface of the wood going with the grain. This helps hide excessive brush strokes and leads to a more consistent look. If your paint is building up too much in certain spots, simply wipe with a damp towel until you're pleased with the look. To aid in maintaining proper opaqueness, keep a spray bottle of water on hand to spritz any inconsistent areas.
4. Apply Protective Finish
Once you've achieved your desired look, allow the area to dry thoroughly. The watered-down paint does not offer the same protection as standard paint, so the final step is to apply a clear coat. Because oil-based clear coats tend to yellow over time, a water-based clear coat finish is recommended in order to maintain your clean, whitewashed look. Apply your chosen finish according to the manufacturer's instructions and, as it dries, begin thinking about what you want to whitewash next.
How to Pickle Wood
While many people use "whitewashing" and "pickling" interchangeably, the two techniques are actually quite different. Though both consist of covering the surface of wood with a transparent white finish, pickling actually refers to staining the wood in order to brighten the color as well as accentuate the grain. This process is very popular for finishing oak because of the wood grain's porous quality, but it also looks great on a variety of wood species.

Whitewashed Console Table & Tufted Cube Ottomans
Home to two little girls and parents who love to entertain, this room needed to be family-friendly while still having a sophisticated feel for their guests. The curvy lines of the whitewashed console table are elegant but relaxed. Tufted cube ottomans are stowed below for extra seating.

Photo by: Bria Hammel Interiors
Bria Hammel Interiors
Materials Needed
- water-based pickling stain
- stir stick
- staining brush or cloth applicator
- sander and sandpaper
- water-based clear coat or tung oil
- clean rags
- personal protective equipment
1. Choose Stain
First, you must choose a stain. A variety of pickling stains are available, but we recommend going with a water-based stain to prevent future yellowing. This also helps save time, as drying times are much lower compared with oil-based stains. Additionally, oil-based stains produce hazardous fumes and should only be applied in a well-ventilated area. They require chemicals and solutions to clean, whereas water-based stains clean up easily with soap and water, as long as they are not fully dry. No matter your choice, always wear proper PPE and follow the manufacturer's instructions.
2. Prep the Surface
Next, begin prepping your wood surface. Because you are staining the wood, it is important to remove any coating and get to completely raw wood.
Pro Tip: When sanding clear coats, it can be hard to know when you've fully removed the coating. To aid in the process, keep a damp cloth handy and wipe the surface as you go. The raw wood will soak in the water, while the remaining coated areas will reject it.
3. Apply Stain
Once your wood is prepped and cleaned, test your stain on a scrap piece of wood or inconspicuous area. If you like the result, begin applying the stain with a brush or cloth. A cloth is helpful for working the stain into the pores of the wood to help accentuate the grain. Allow the stain to penetrate the wood to your liking and wipe away excess with a clean rag as you go.
4. Apply Protective Finish
Much like whitewashing, pickling provides no actual protection for the wood. It is important to finish the surface with a water-based clear coat. If you don't like the look of clear coat finishes and prefer a penetrating oil for protection, tung oil is a low-cost option that is easy to apply and will minimize yellowing.


